Triển khai hạ tầng
Trong bước này chúng ta sẽ sử dụng SAM - Serverless Application Model là một opensource framework giúp triển khai cơ sở hạ tầng serverless dễ dàng hơn. Bạn sẽ thấy và sử dụng các SAM template trong suốt bài thực hành này.
-
Trở lại giao diện terminal của Cloud9.
-
Chạy các câu lệnh dưới đây để lấy thông tin account ID , sau đó đặt giá trị cho biến s3_deploy_bucket bằng theme-park-sam-deploys-[accountid]. Cuối cùng thực hiện tạo S3 bucket có tên theme-park-sam-deploys-[accountid] ( được lưu trong biến môi trường s3_deploy_bucket )
S3 bucket sẽ được sử dụng để SAM upload code lên và triển khai dịch vụ ứng dụng của chúng ta.
accountId=$(curl -s http://169.254.169.254/latest/dynamic/instance-identity/document | jq -r .accountId)

s3_deploy_bucket="theme-park-sam-deploys-${accountId}"

echo $s3_deploy_bucket

aws s3 mb s3://$s3_deploy_bucket

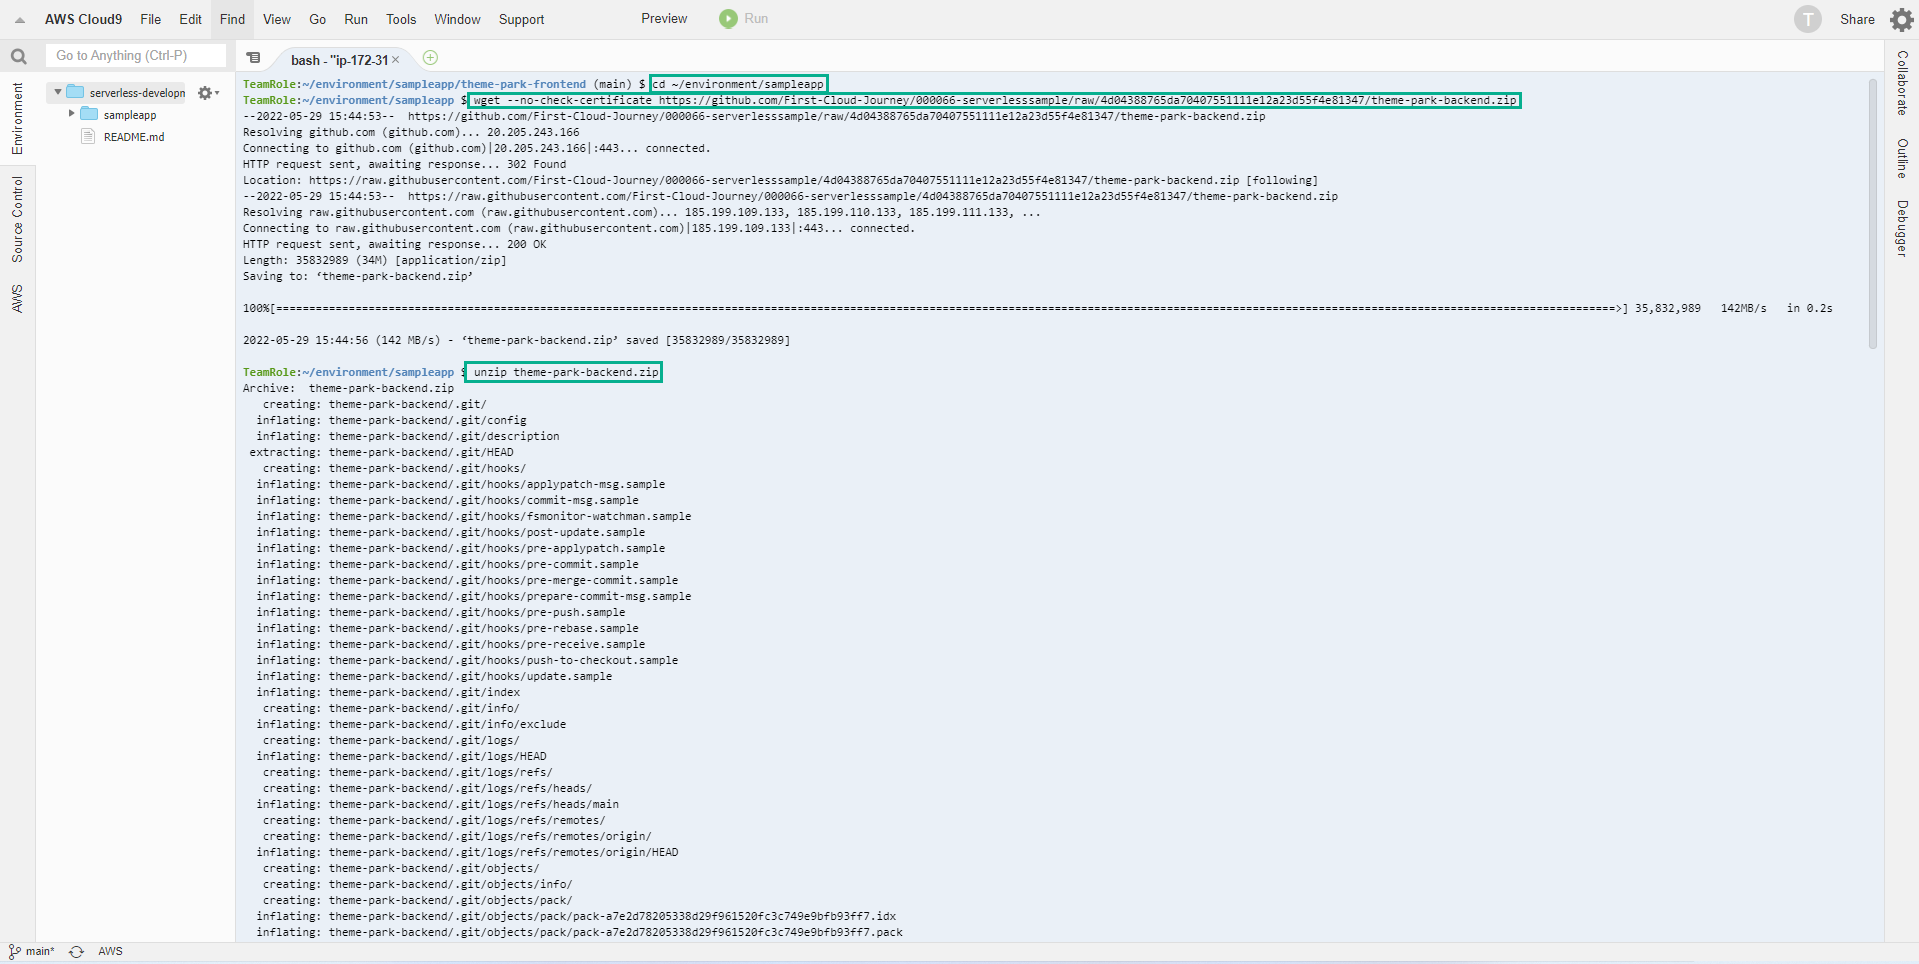
- Chạy các câu lệnh dưới đây để tiến hành download source sử dụng cho backend.
cd ~/environment/sampleapp
wget --no-check-certificate https://github.com/First-Cloud-Journey/000066-serverlesssample/raw/4d04388765da70407551111e12a23d55f4e81347/theme-park-backend.zip
unzip theme-park-backend.zip
- Tiếp theo chúng ta sẽ sử dụng SAM CLI để triển khai phần hạ tầng đầu tiên.
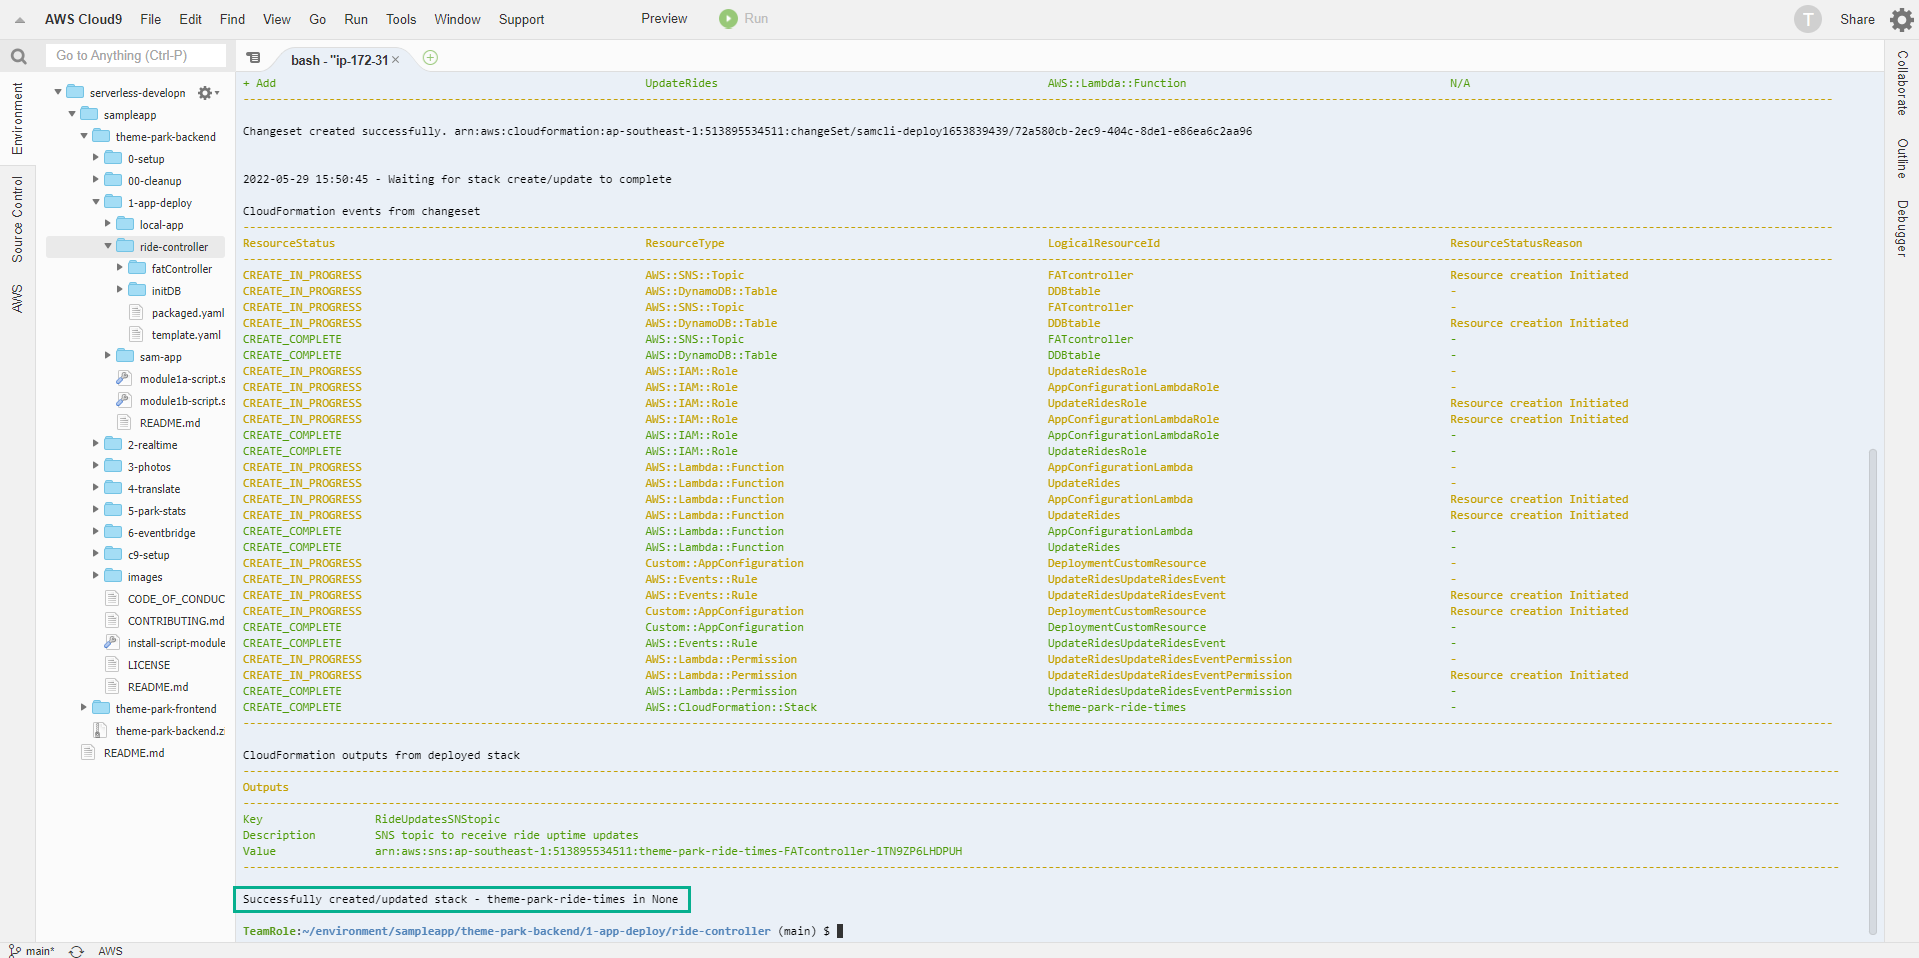
cd ~/environment/sampleapp/theme-park-backend/1-app-deploy/ride-controller/
sam package --output-template-file packaged.yaml --s3-bucket $s3_deploy_bucket
sam deploy --template-file packaged.yaml --stack-name theme-park-ride-times --capabilities CAPABILITY_IAM
Quá trình này sẽ mất một vài phút để triển khai. Bạn có thể xem tiến trình triển khai trong bảng điều khiển. Chờ cho đến khi bạn thấy thông báo xác nhận Đã tạo / cập nhật thành công stack - theme-park-ride-times trong bảng điều khiển trước khi tiếp tục.
- Tiếp tục triển khai phần hạ tầng thứ hai.
cd ~/environment/sampleapp/theme-park-backend/1-app-deploy/sam-app/
sam build
sam package --output-template-file packaged.yaml --s3-bucket $s3_deploy_bucket
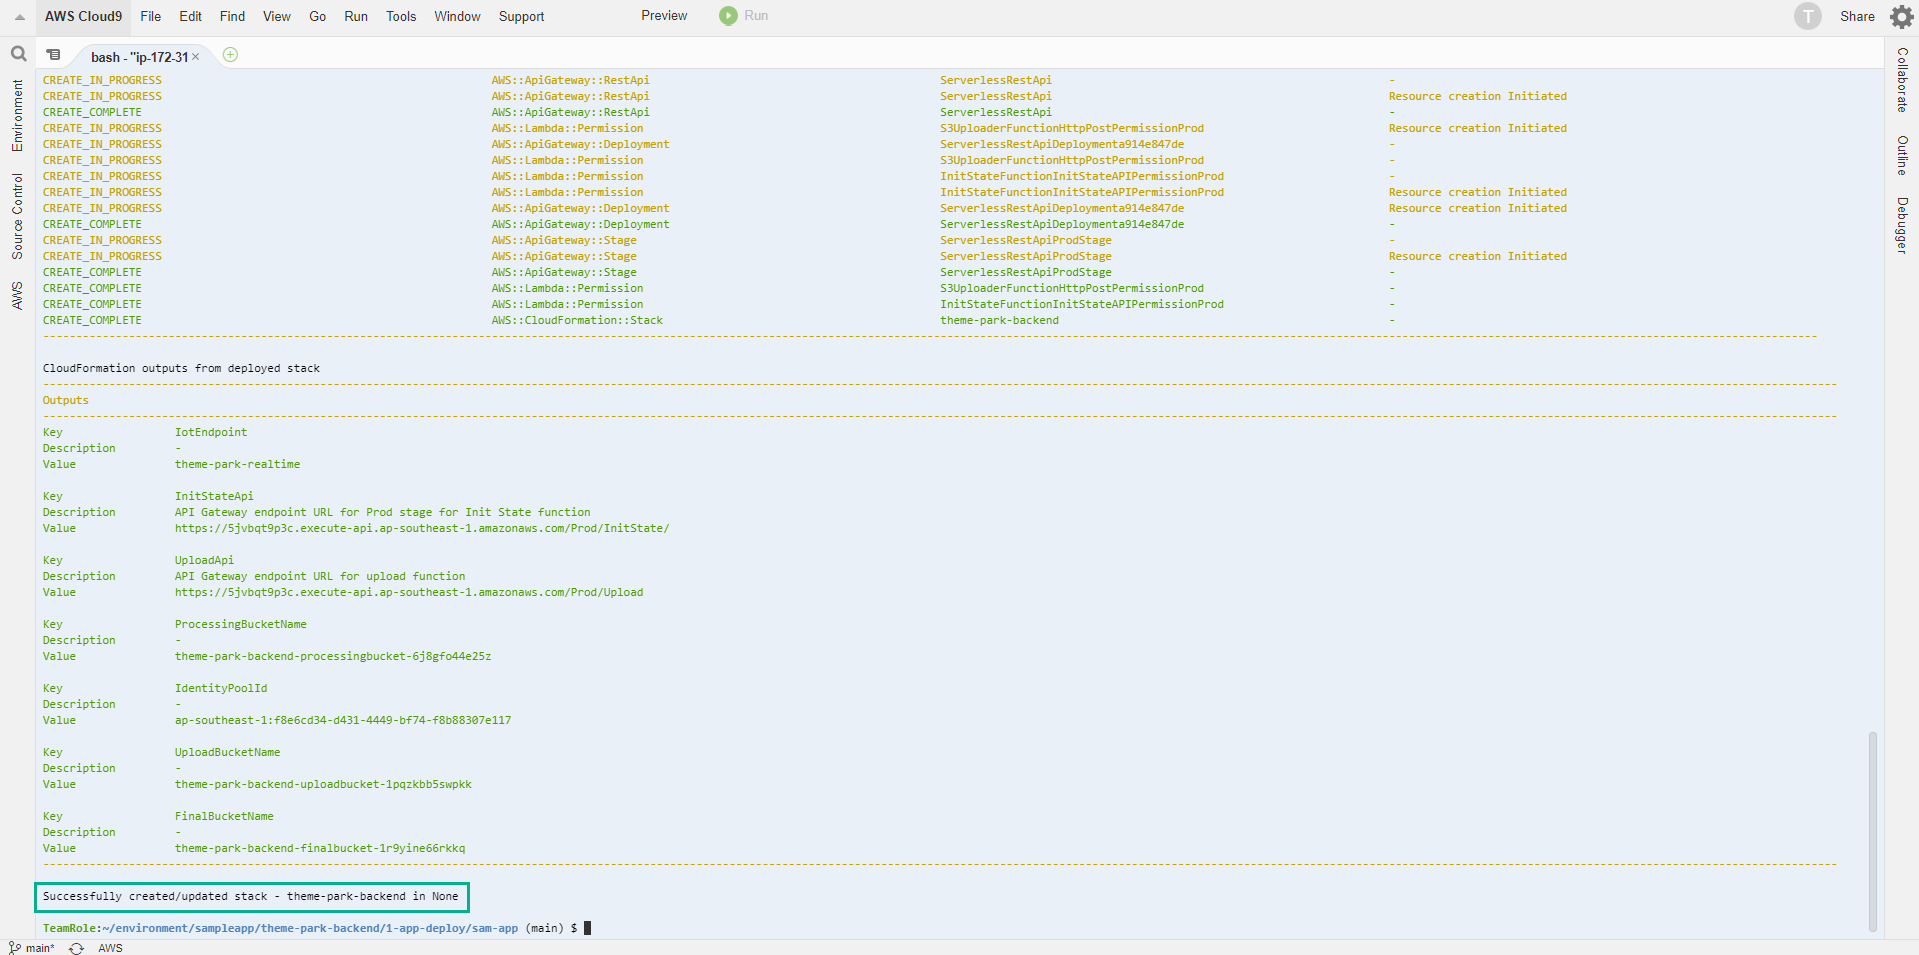
sam deploy --template-file packaged.yaml --stack-name theme-park-backend --capabilities CAPABILITY_IAM
Quá trình này sẽ mất một vài phút để triển khai. Bạn có thể xem tiến trình triển khai trong bảng điều khiển. Chờ cho đến khi bạn thấy thông báo xác nhận stack - theme-park-backend được tạo / cập nhật thành công trong bảng điều khiển trước khi tiếp tục.
SAM hiện đã sử dụng CloudFormation để triển khai các tài nguyên backend sẽ được sử dụng cho phần còn lại của bài thực hành bao gồm:
- 2 hàm Lambda
- 3 S3 bucket
- Một bảng DynamoDB
- Cognito UserPool
- Một AWS IoT thing
- Một số role và policies trong IAM
- Tiếp theo chúng ta sẽ đặt một số biến môi trường đại diện cho tên tùy chỉnh của các tài nguyên được triển khai trong tài khoản của bạn. Các lệnh này sử dụng AWS CLI để truy xuất tên tài nguyên CloudFormation và sau đó xây dựng các biến môi trường bằng cách sử dụng các lệnh thao tác chuỗi Linux grep và cut. Điều này làm cho việc nhập các lệnh triển khai trong các mô-đun sau này trở nên dễ dàng hơn. Tiếp tục chạy các lệnh dưới đây trong terminal của Cloud9.
AWS_REGION=$(curl -s http://169.254.169.254/latest/meta-data/placement/availability-zone | sed 's/\(.*\)[a-z]/\1/')
FINAL_BUCKET=$(aws cloudformation describe-stack-resource --stack-name theme-park-backend --logical-resource-id FinalBucket --query "StackResourceDetail.PhysicalResourceId" --output text)
PROCESSING_BUCKET=$(aws cloudformation describe-stack-resource --stack-name theme-park-backend --logical-resource-id ProcessingBucket --query "StackResourceDetail.PhysicalResourceId" --output text)
UPLOAD_BUCKET=$(aws cloudformation describe-stack-resource --stack-name theme-park-backend --logical-resource-id UploadBucket --query "StackResourceDetail.PhysicalResourceId" --output text)
DDB_TABLE=$(aws cloudformation describe-stack-resource --stack-name theme-park-backend --logical-resource-id DynamoDBTable --query "StackResourceDetail.PhysicalResourceId" --output text)
echo $FINAL_BUCKET
echo $PROCESSING_BUCKET
echo $UPLOAD_BUCKET
echo $DDB_TABLE

Bước tiếp theo chúng ta sẽ điền thông tin chuyến đi vào DynamoDB Table.