Frontend Deployment
Clone code base
-
Return to the terminal interface of Cloud9.
-
Copy the commands below and paste them into the terminal interface.
git config --global credential.helper '!aws codecommit credential-helper $@'
git config --global credential.UseHttpPath true
- To save login information.
- Use for different repositories should configure the credentials to use the full repository path.

- Create a directory to contain source code front-end.
mkdir ~/environment/sampleapp/theme-park-frontend
cd ~/environment/sampleapp/theme-park-frontend
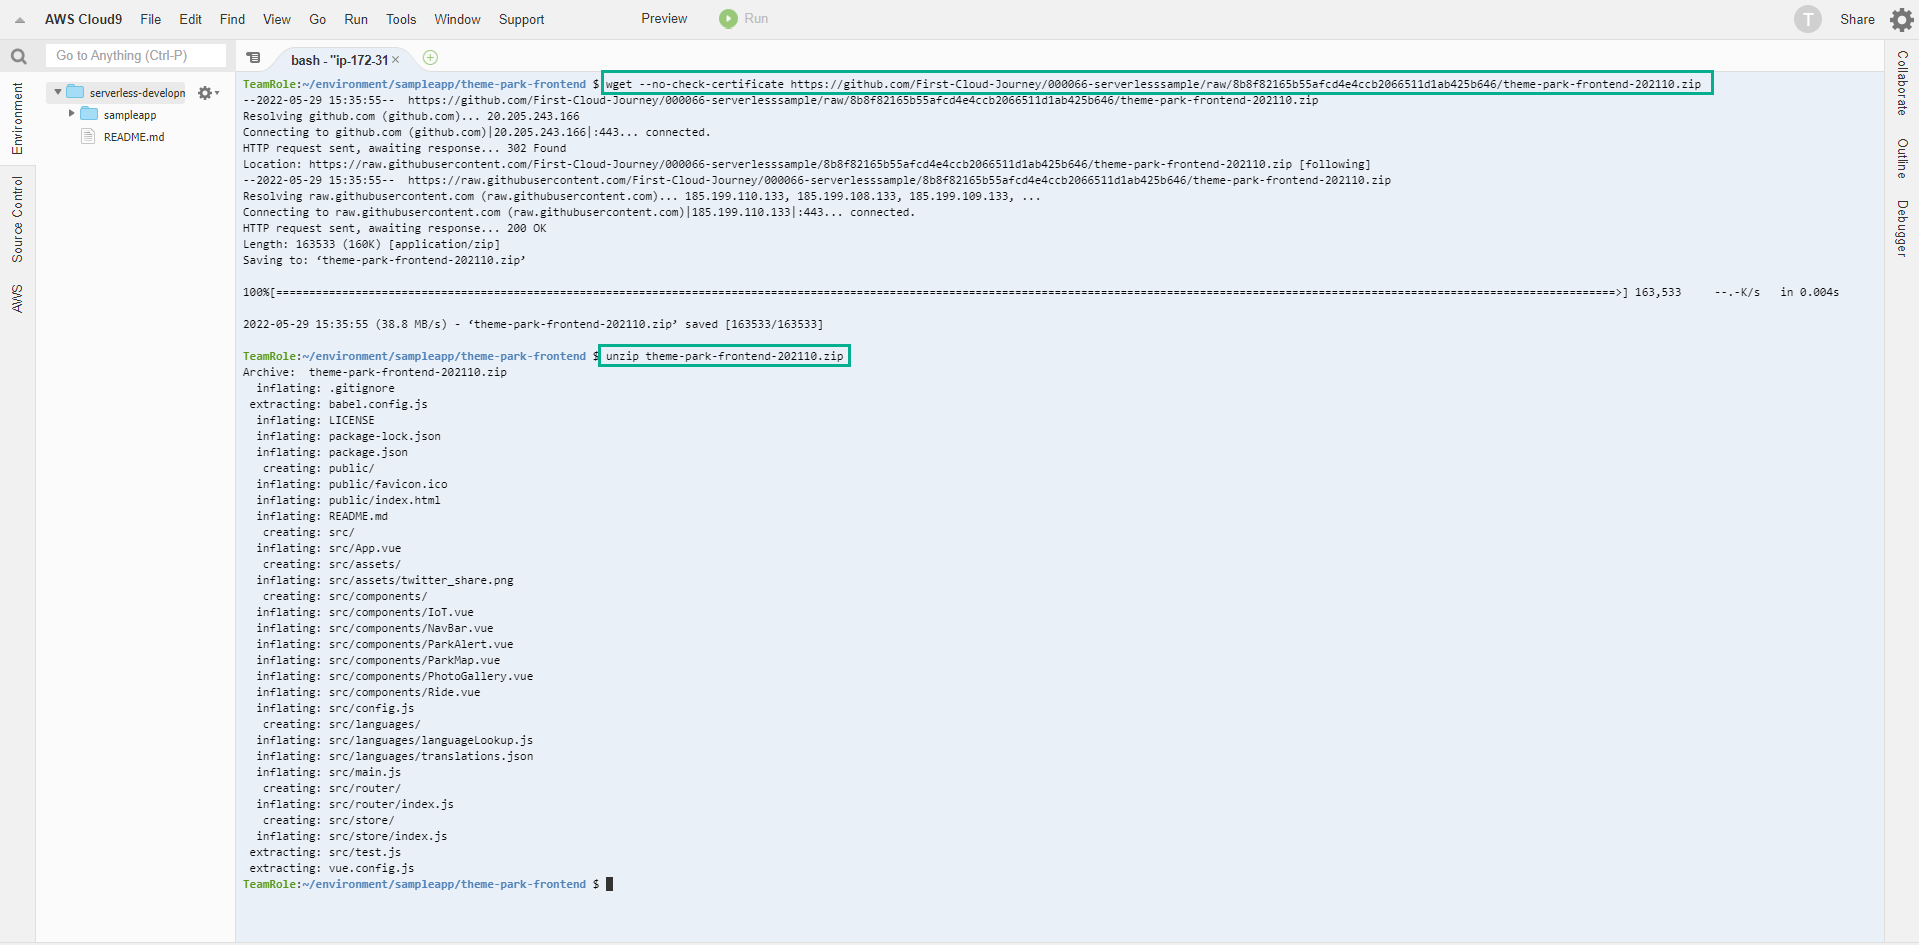
 4. Run the commands below to download the source code from GitHub and copy it to a subdirectory.
- Then, extract with unzip
wget --no-check-certificate https://github.com/First-Cloud-Journey/000066-serverlesssample/raw/8b8f82165b55afcd4e4ccb2066511d1ab425b646/theme-park-frontend-202110.zip
unzip theme-park-frontend-202110.zip
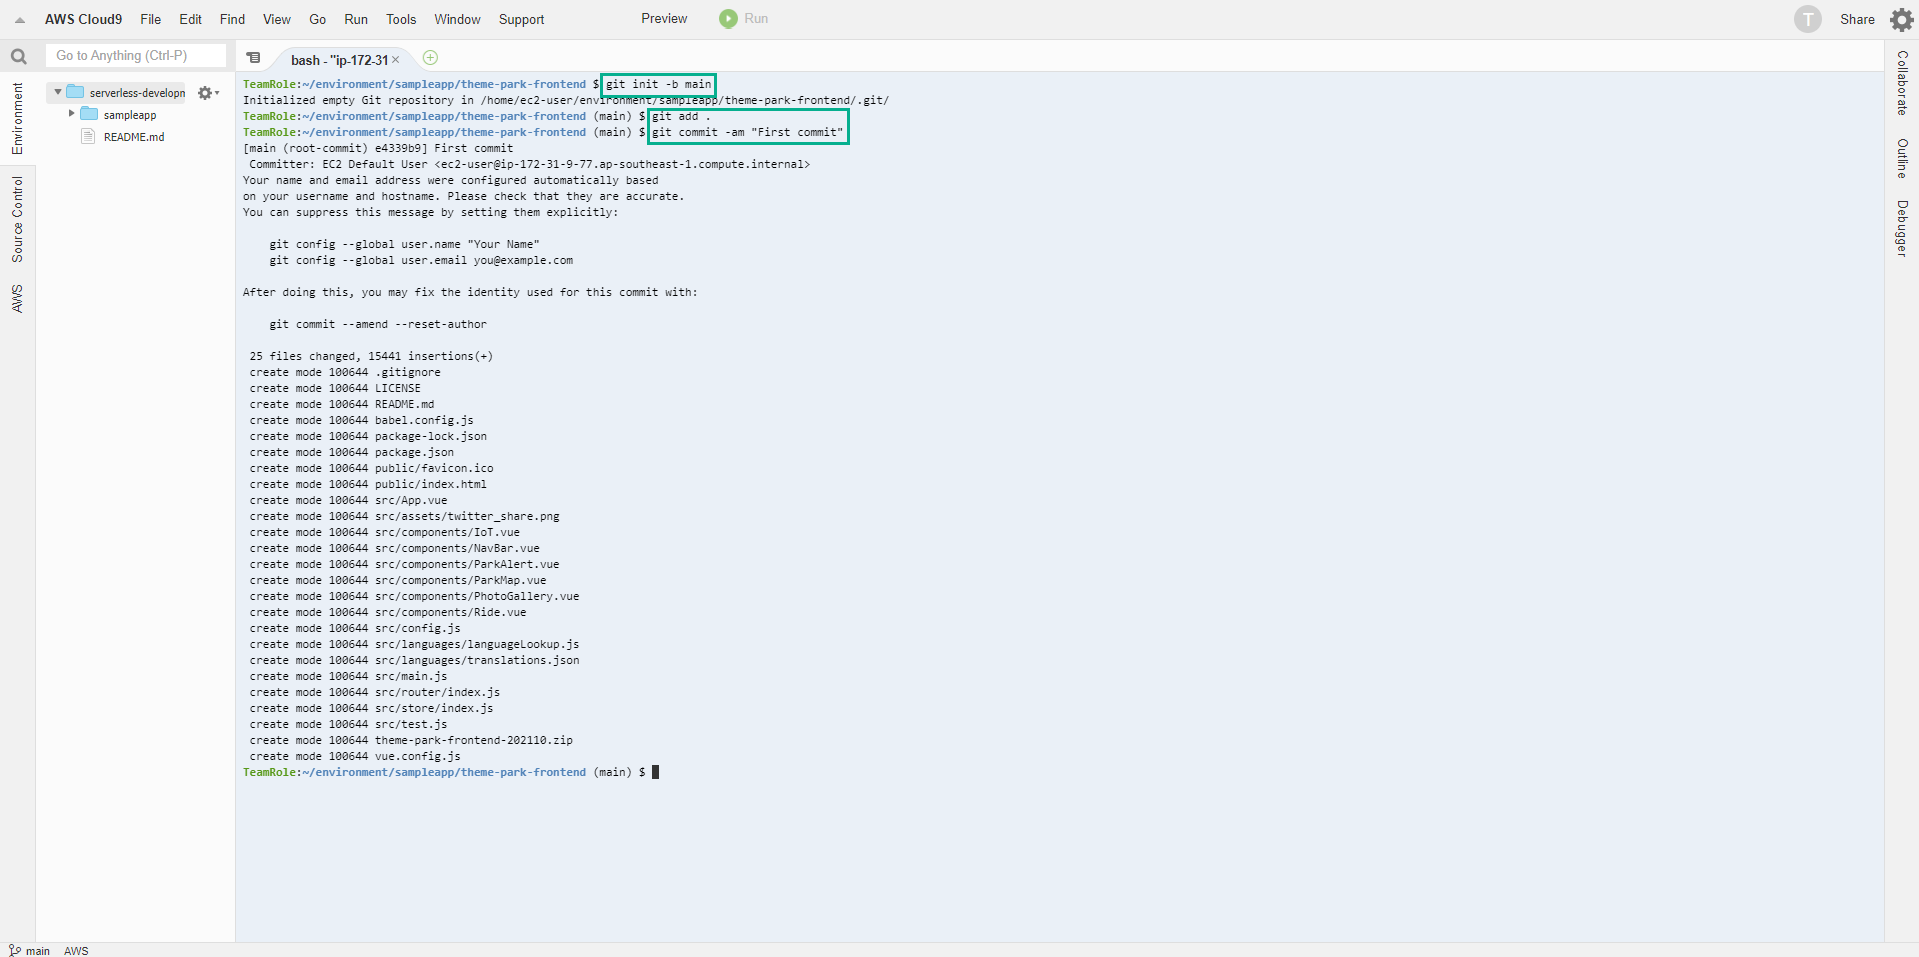
- Run the following command to configure local Git repository and commit.
git init -b main
git add .
git commit -am "First commit"
- Push the code to the CodeCommit repository we created for the Frontend part.
AWS_REGION=$(curl -s http://169.254.169.254/latest/meta-data/placement/availability-zone | sed 's/\(.*\)[a-z]/\1/')
git push --set-upstream https://git-codecommit.$AWS_REGION.amazonaws.com/v1/repos/theme-park-frontend main

Deploy with Amplify
-
Access the Amplify service administration interface
-
Change the Region to Region you use for the exercise.
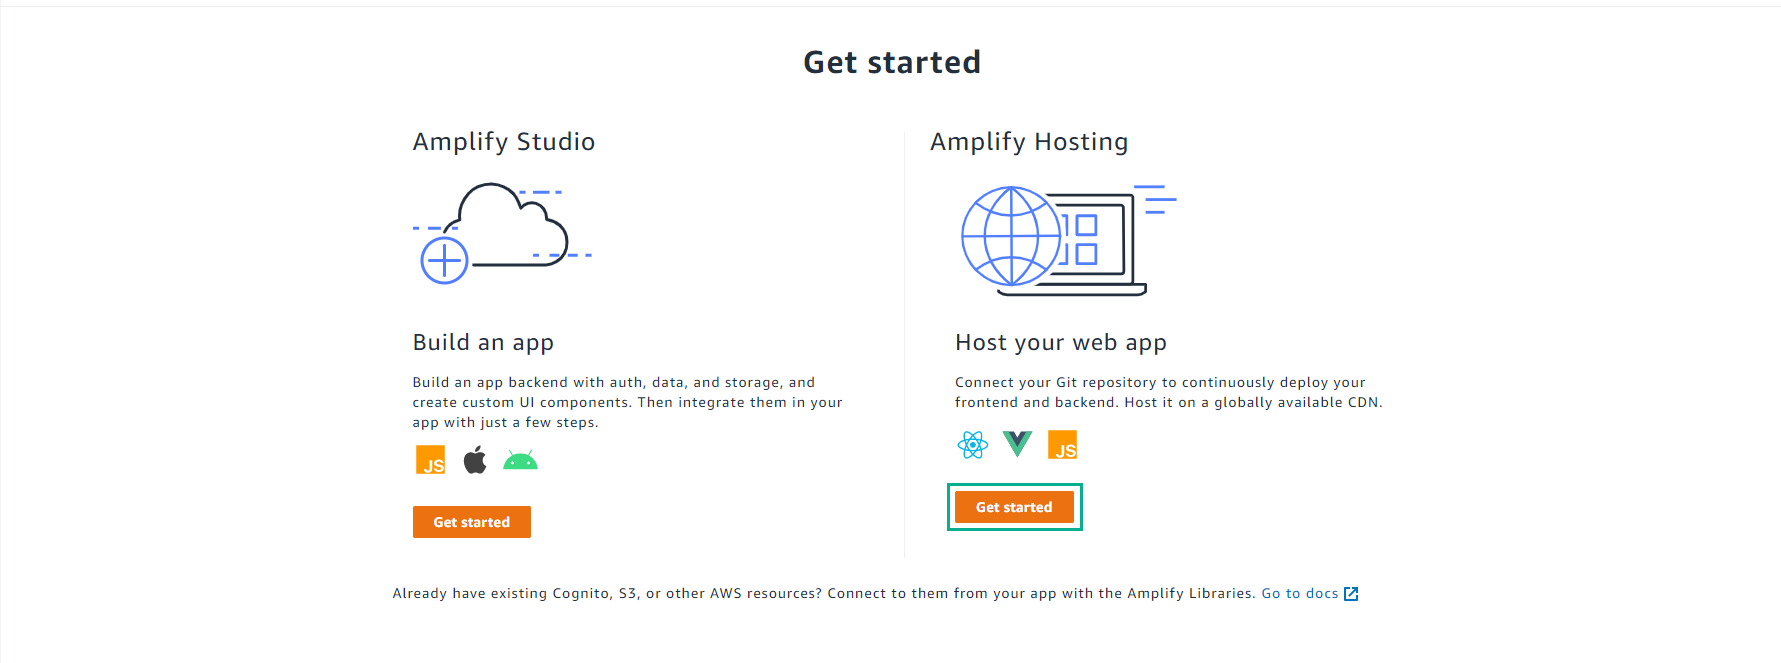
- Scroll down, click Get started at Host your web app.
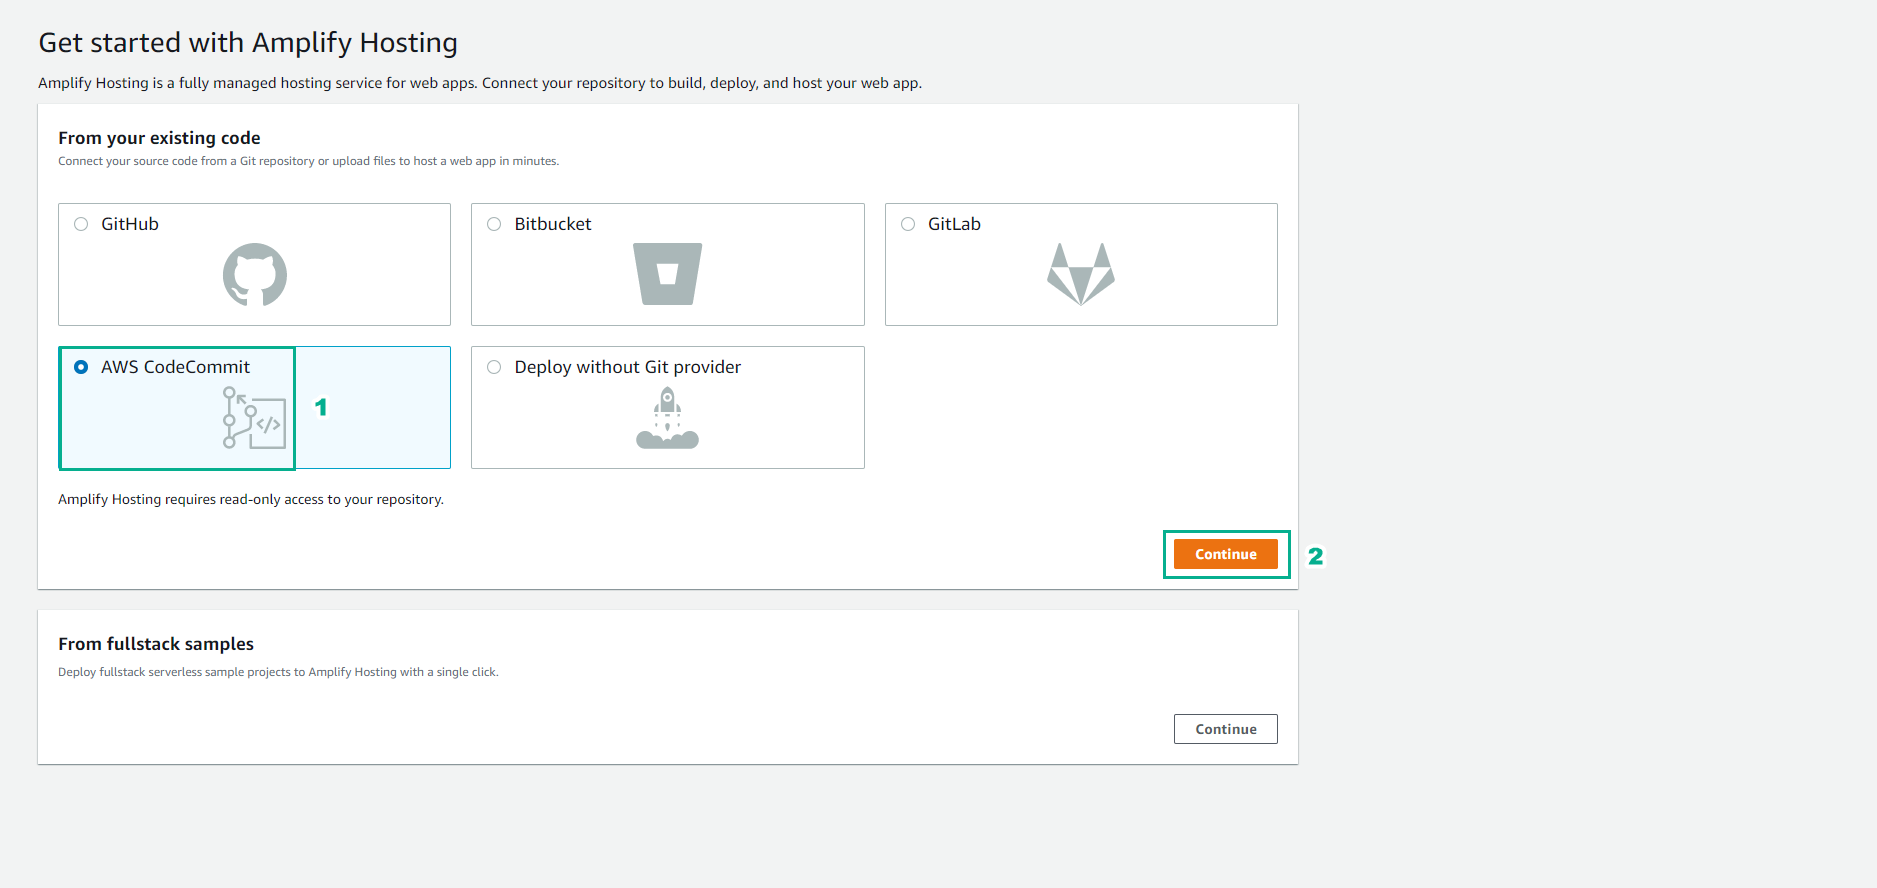
- Click AWS CodeCommit.
- Click Continue.
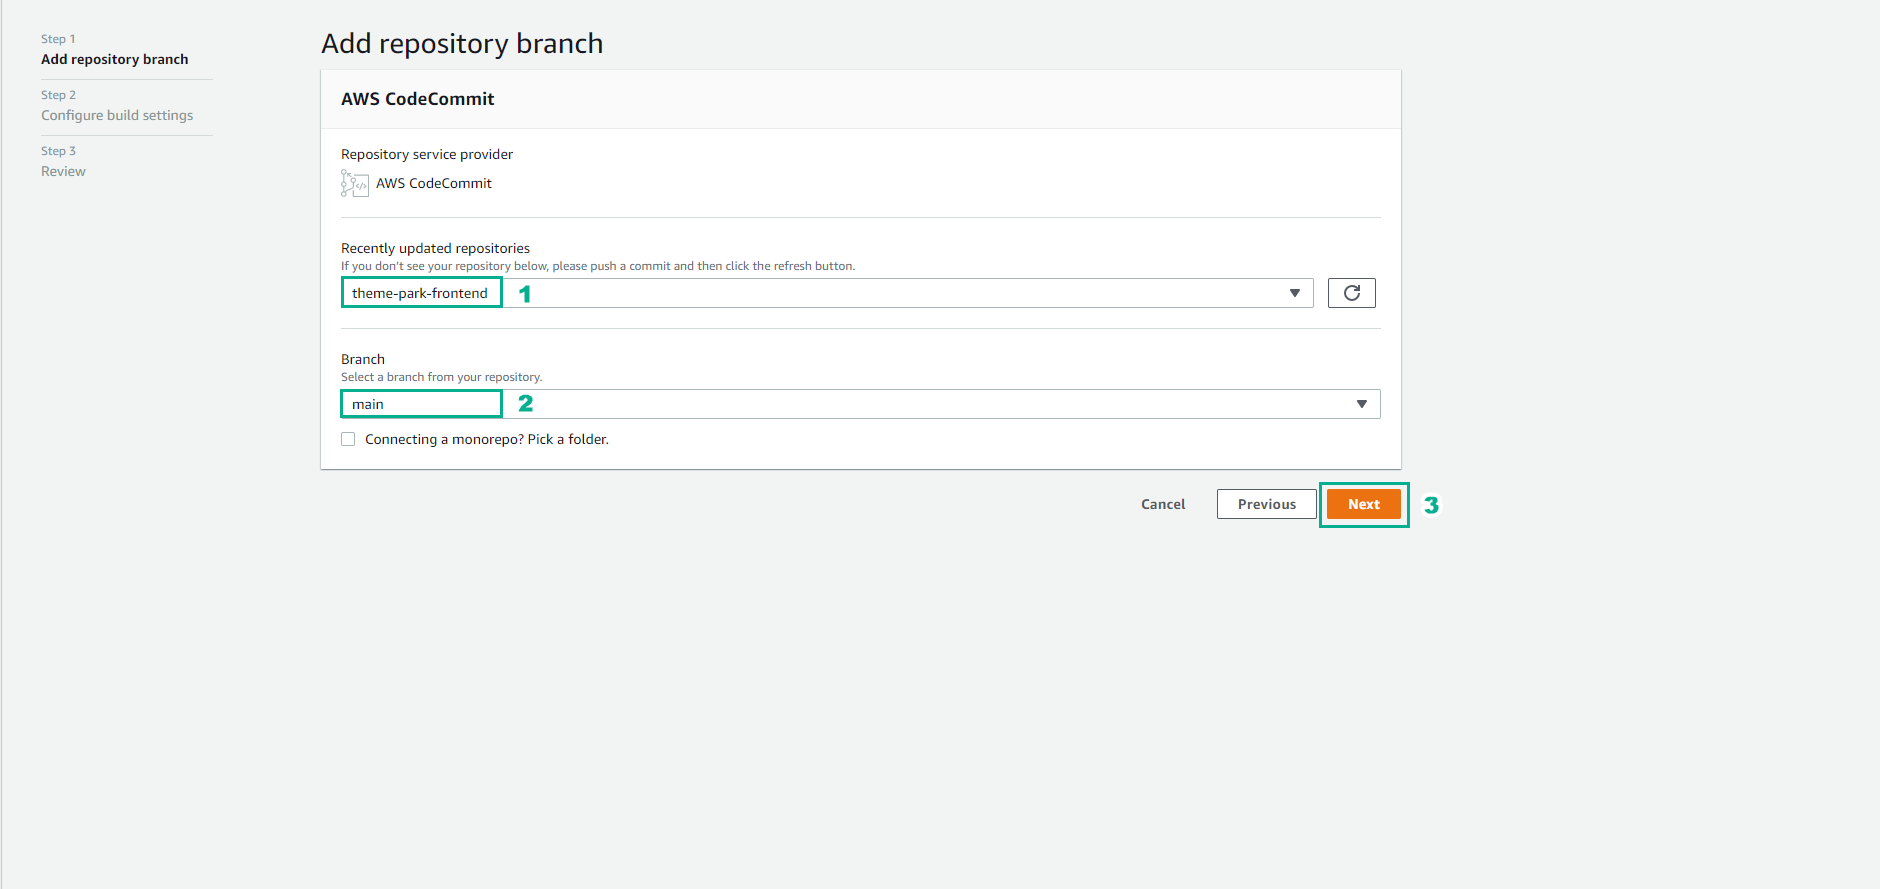
- At the Add repository branch page.
- Click to select repository theme-park-frontend.
- In the Branch section, click main.
- Click Next.
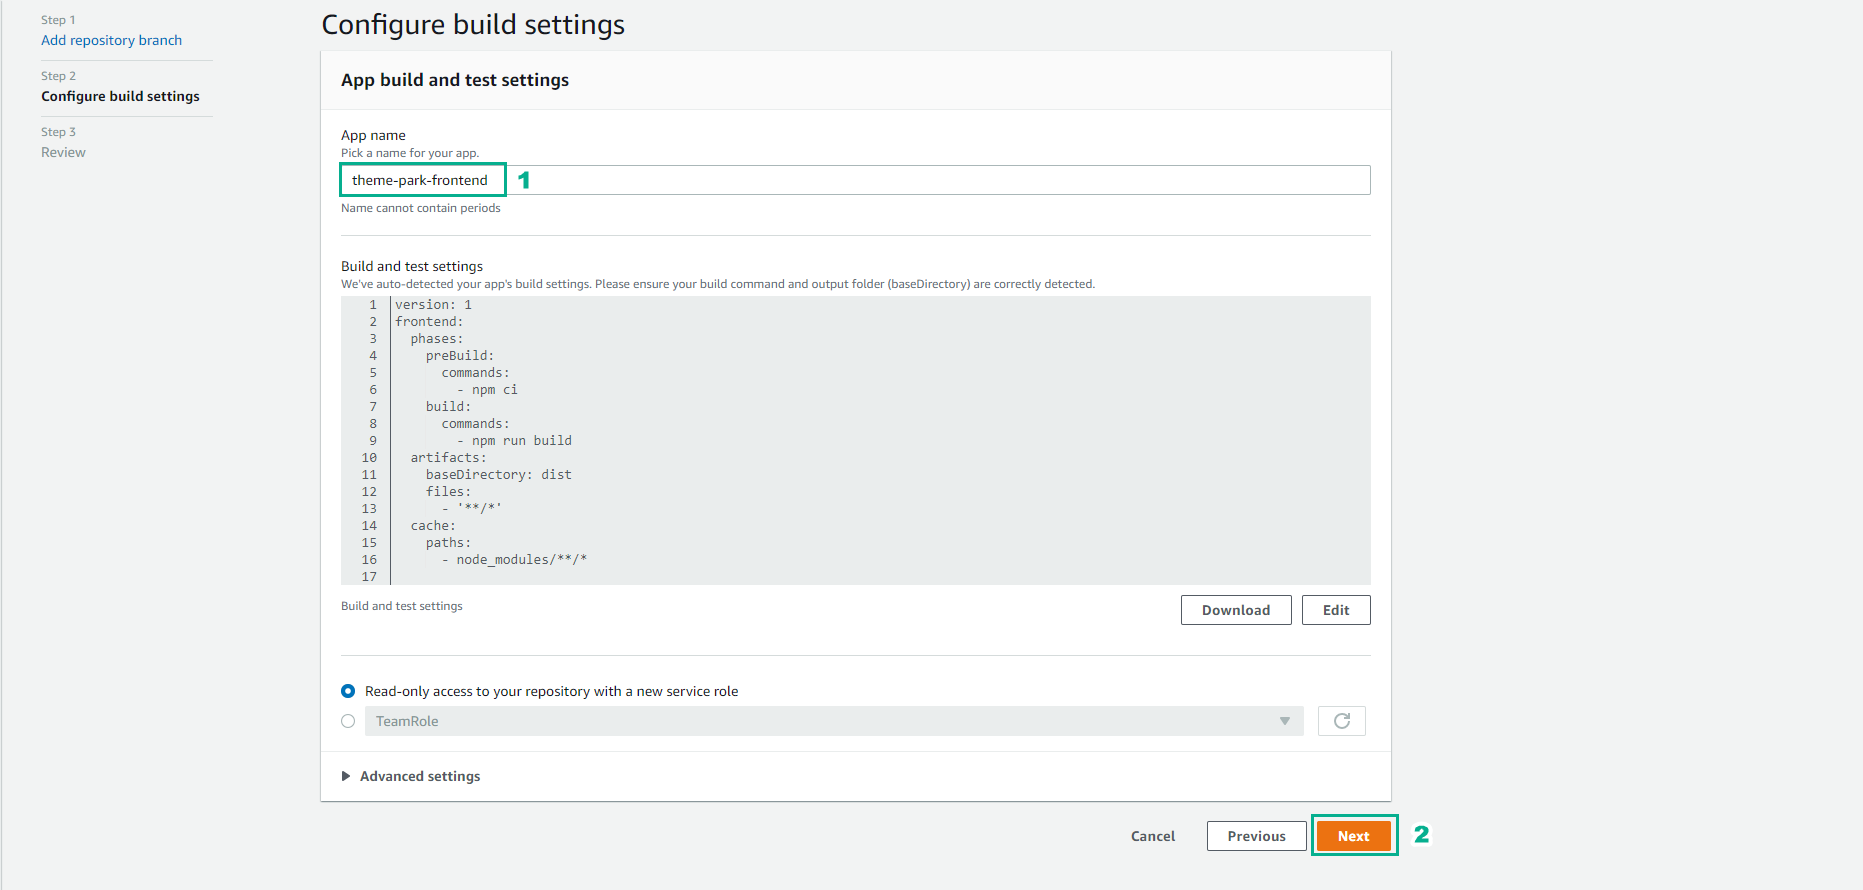
- On the Configure build settings page, keep the default options and click Next.
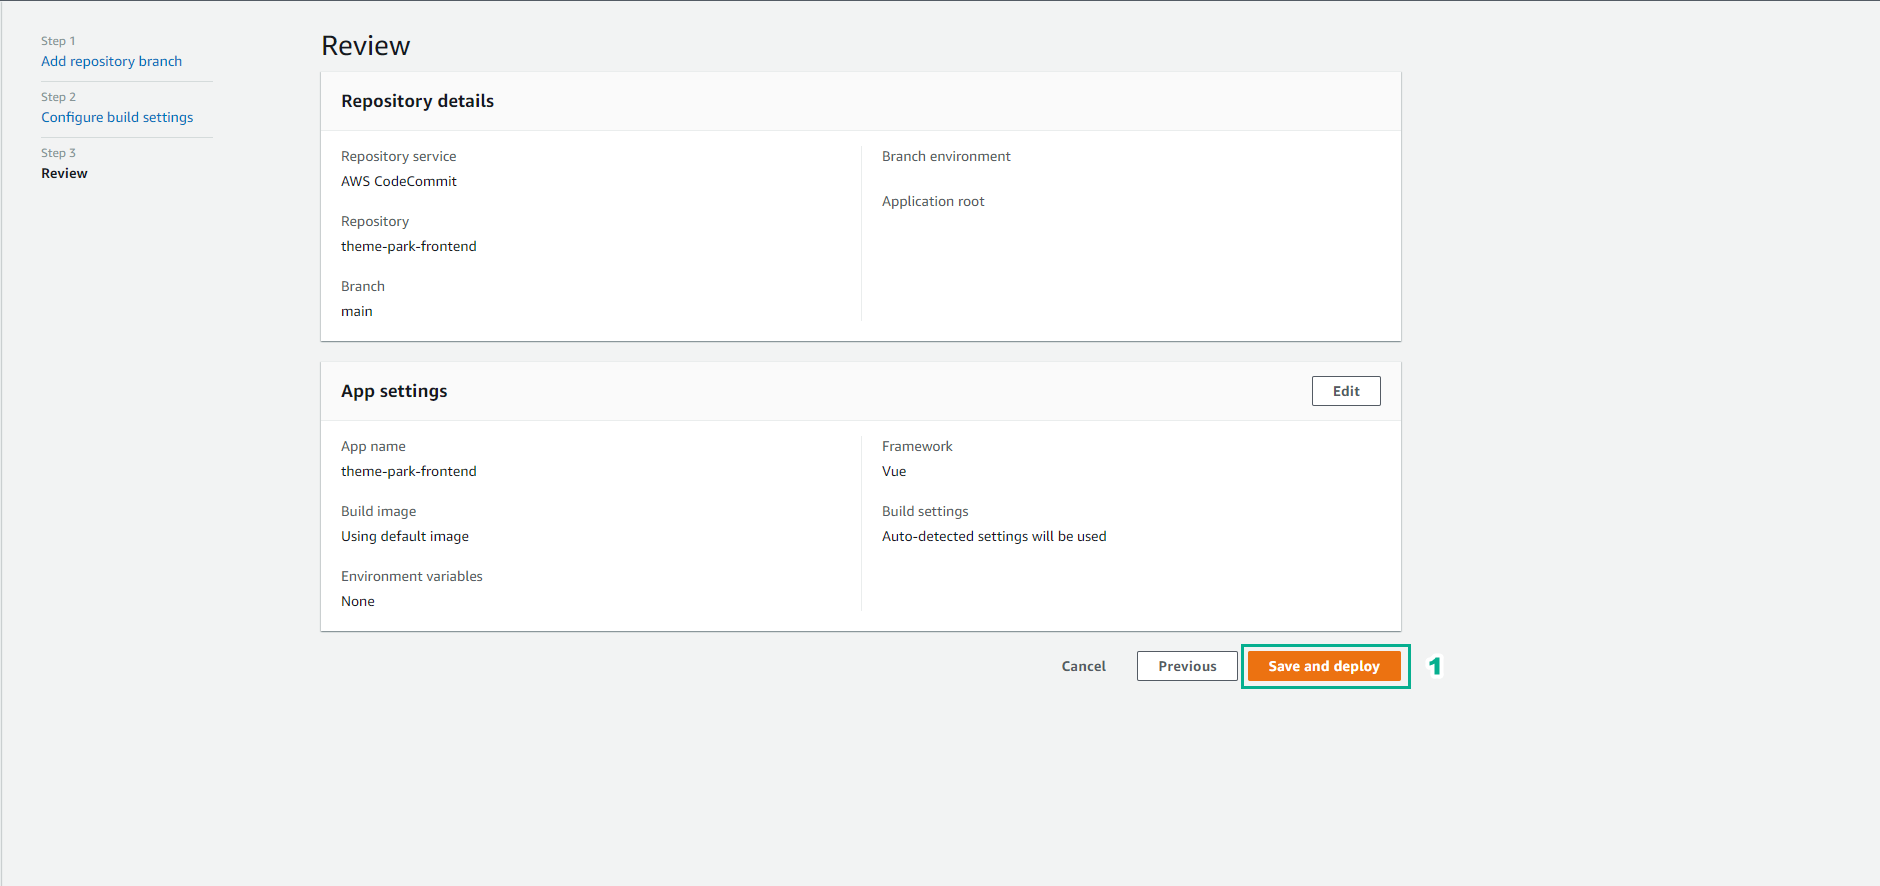
- On the Review page, check the configuration again and click Save and deploy.
- Once the build process has completed the Verify stage, choose to open the link provided for your app in a new tab.
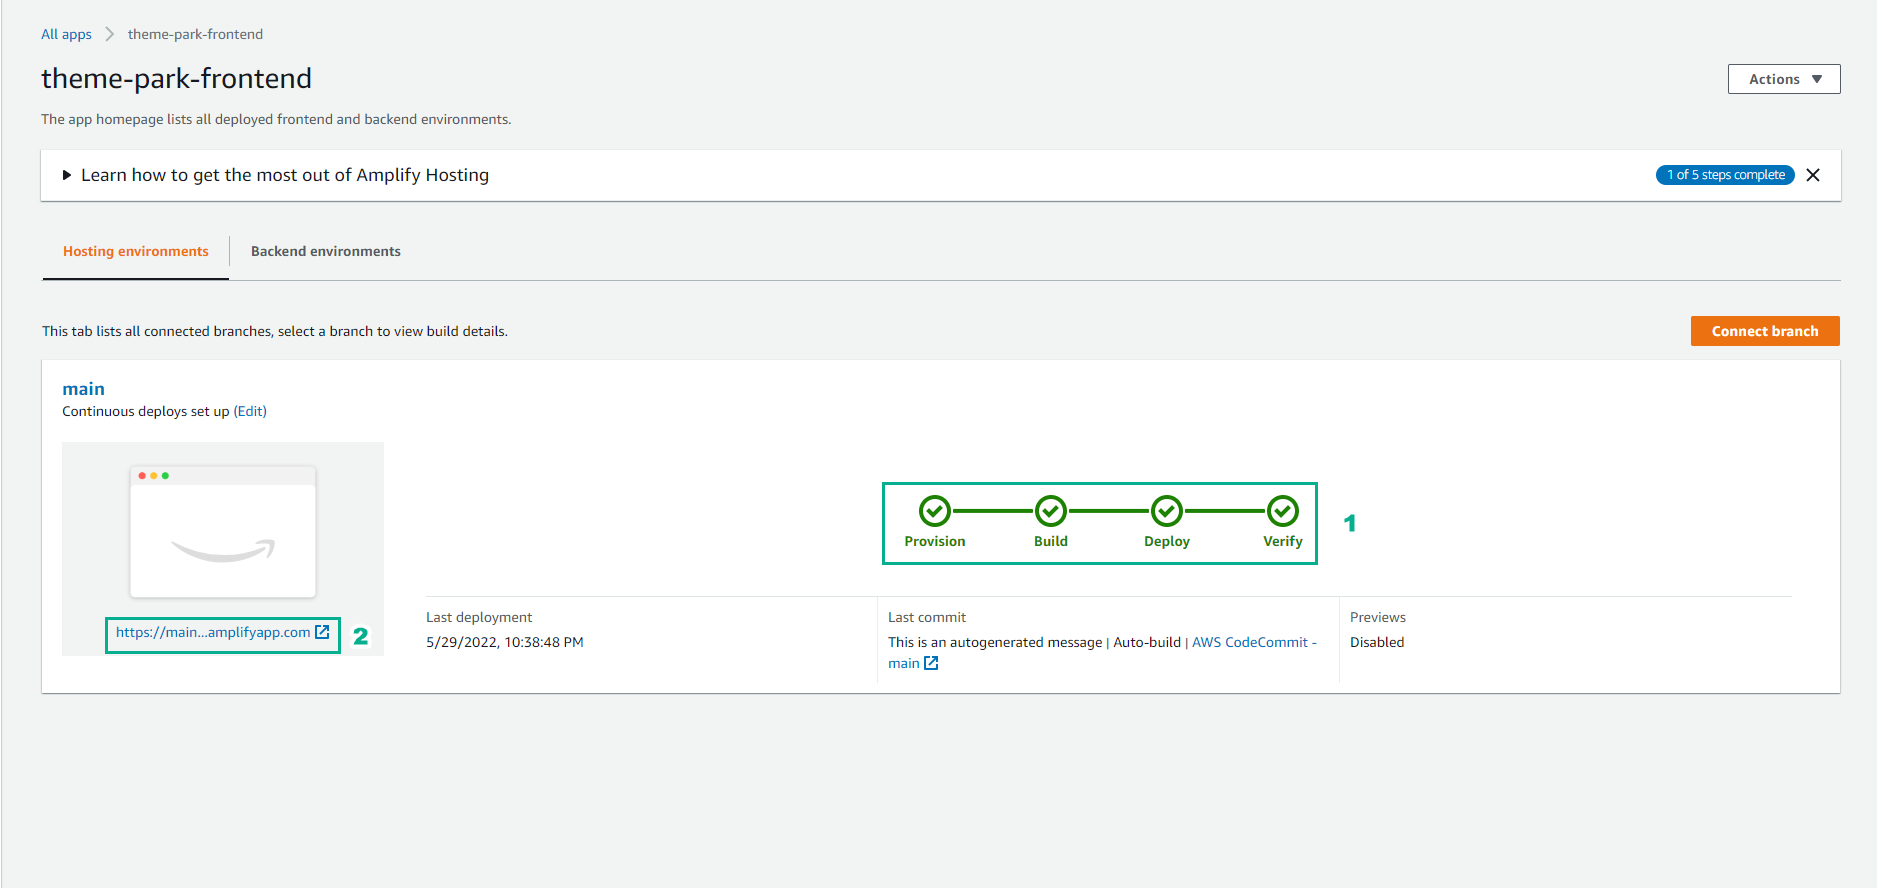
- You will see a blank park map with a navigation bar. We will add those features next.
- Copy web app’s published URL into your notes file. You will need this information in the next steps.