Post-processing
Post-processing
The last lambda function in the image processing is fired when the final image is rendered and saved to the S3 image processor. It will save the image object information to the DynamoDB table and send a notification to the IoT topic for the front-end application to be notified.
Create Lambda function
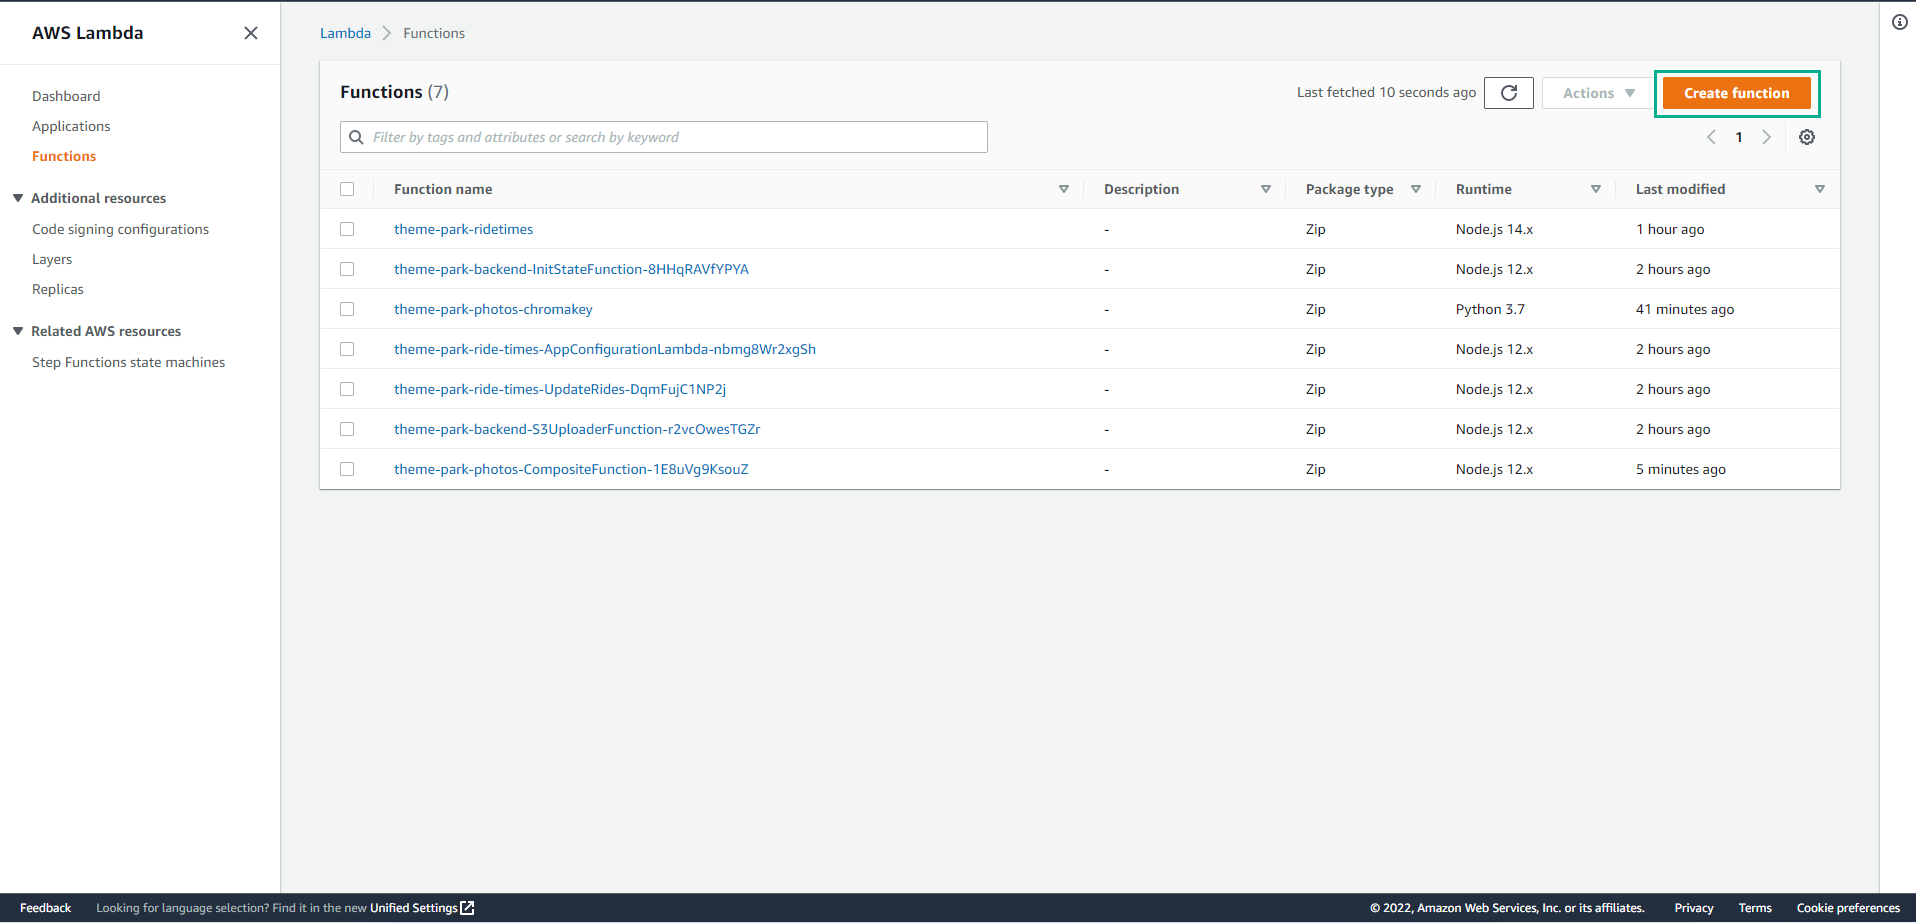
- Access to Lambda
- Select Create function
-
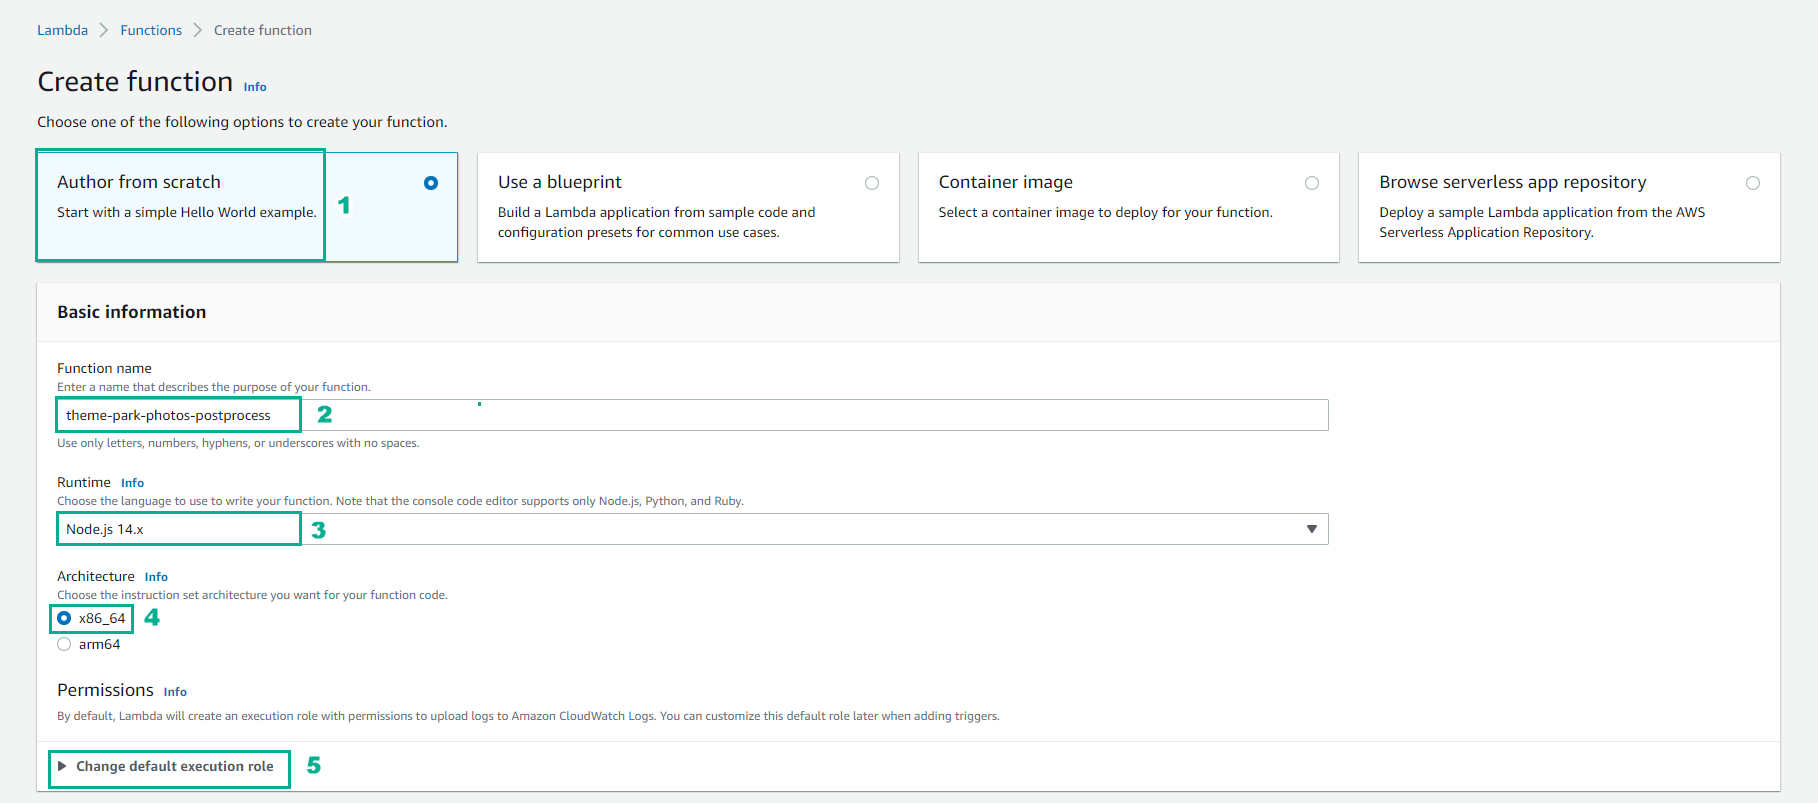
In the Create function interface
- Select Author from catch
- For Basic information, enter theme-park-photos-postprocess
- For Runtime, select Node.js 14.x
- For Architecture, choose x86_64
- Choose to expand Change default execution role
-
In the Change default execution role interface
- Select Use an existing role
- Select theme-park-backend-ThemeParkLambdaRole
- Select Create function

-
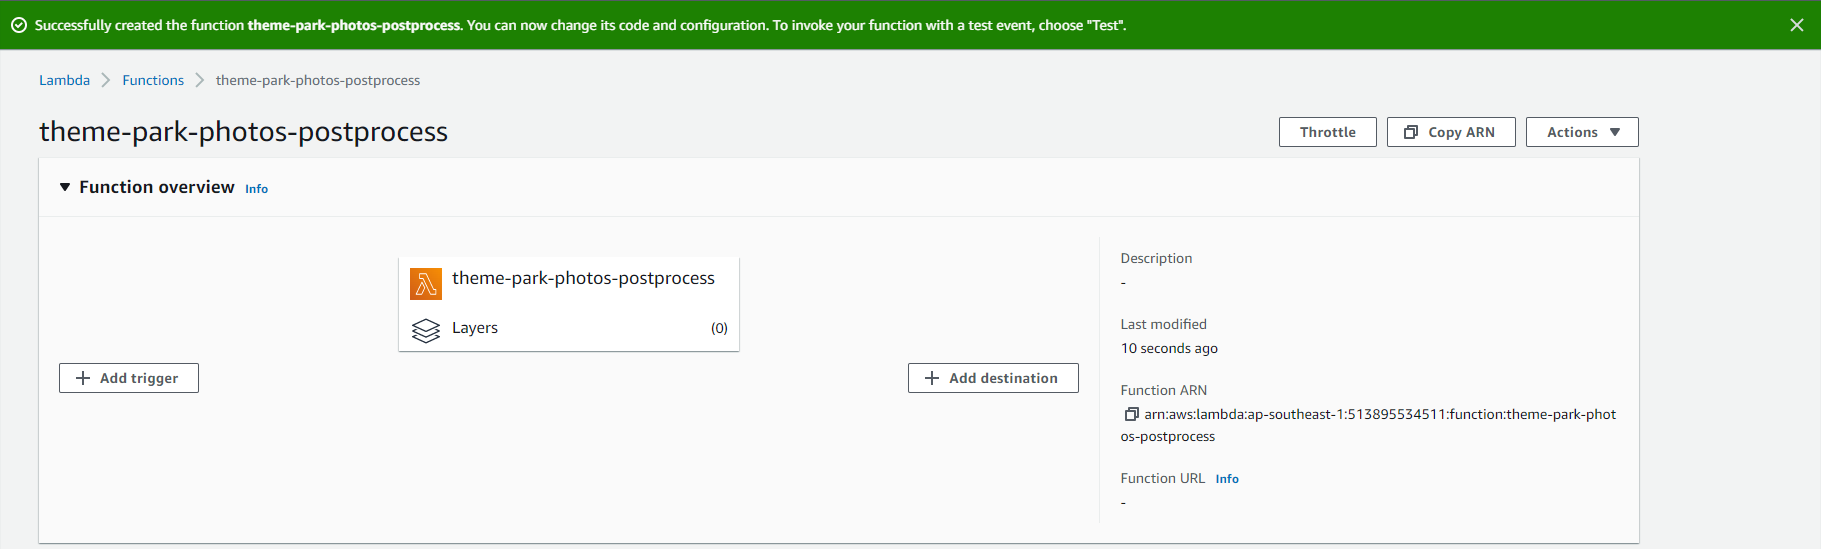
Finish creating Lambda function
- Select + Add trigger
-
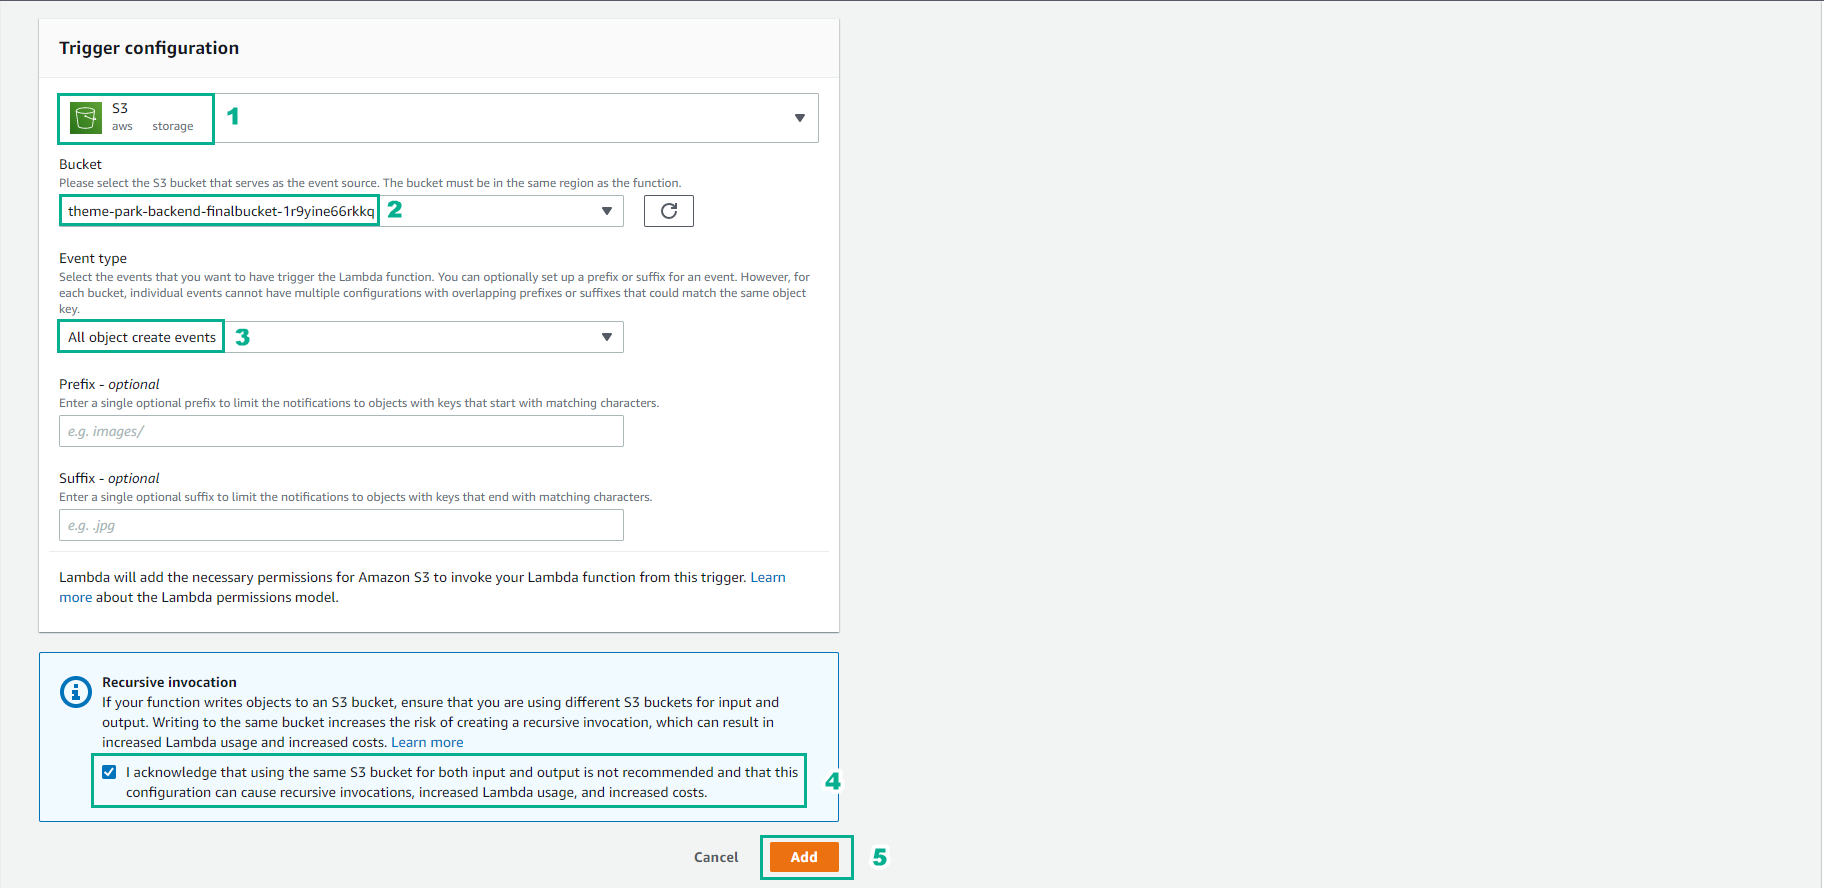
In the Trigger configuration page
- Select S3
- Bucket, select theme-park-backend-finalbucket
- For Event Type, select All object create events
- Select Recursive invocation acknowledgment
- Select Add
-
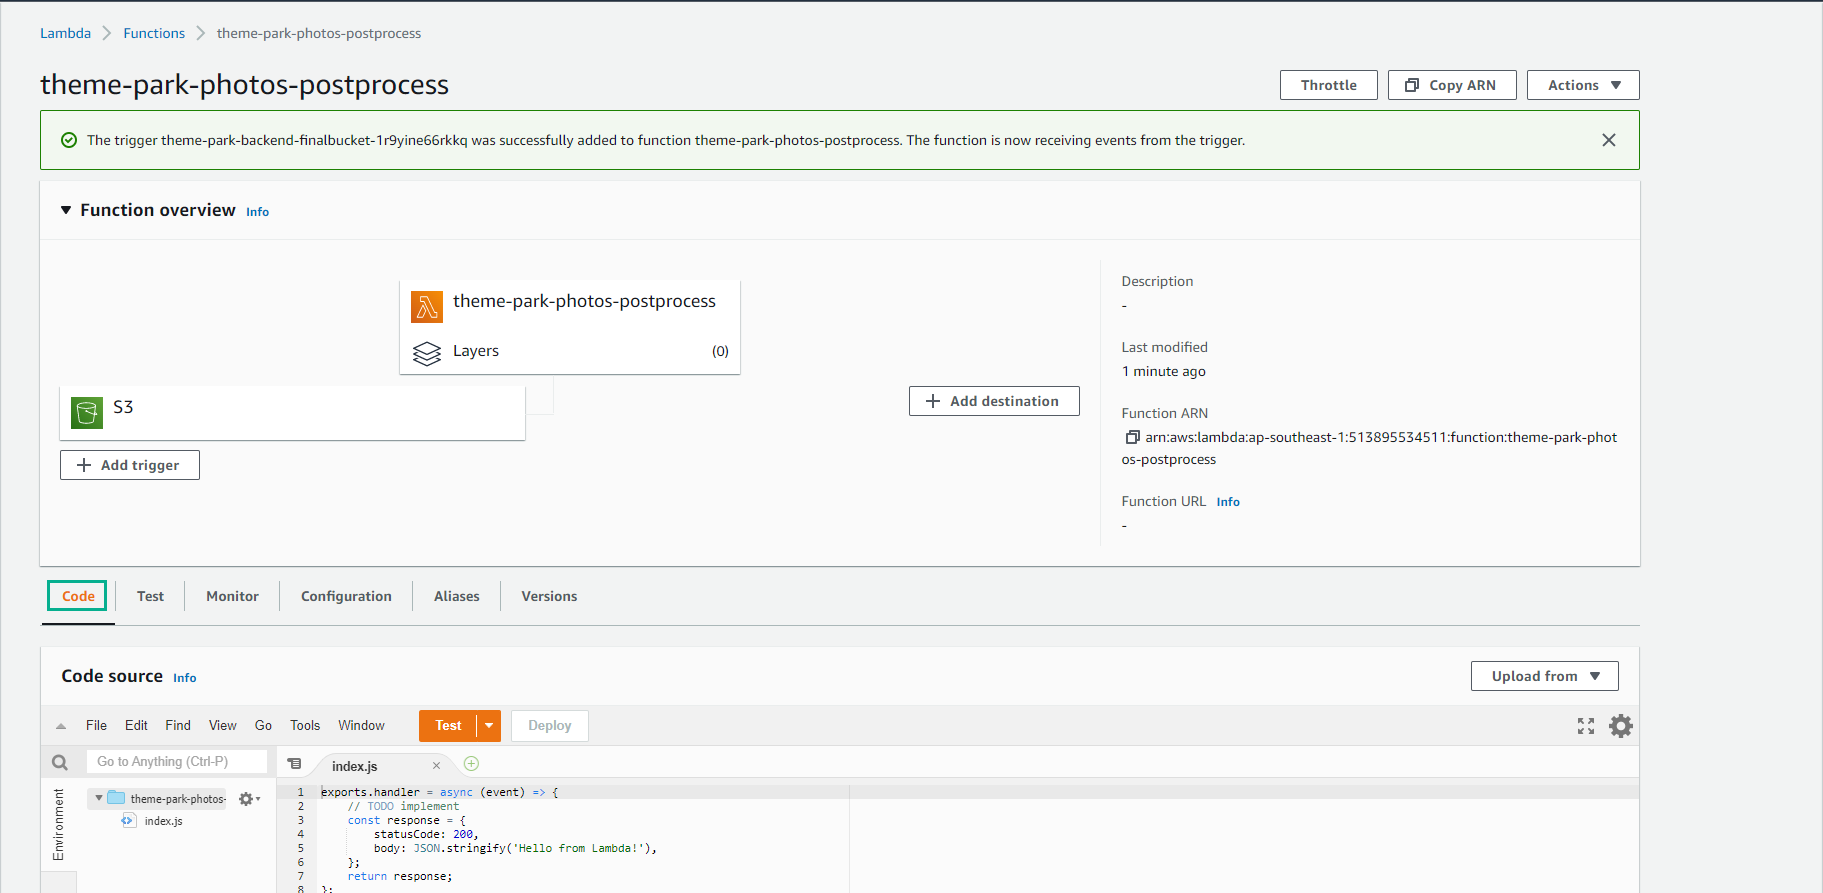
Complete Add trigger S3
- Select Code tab.
-
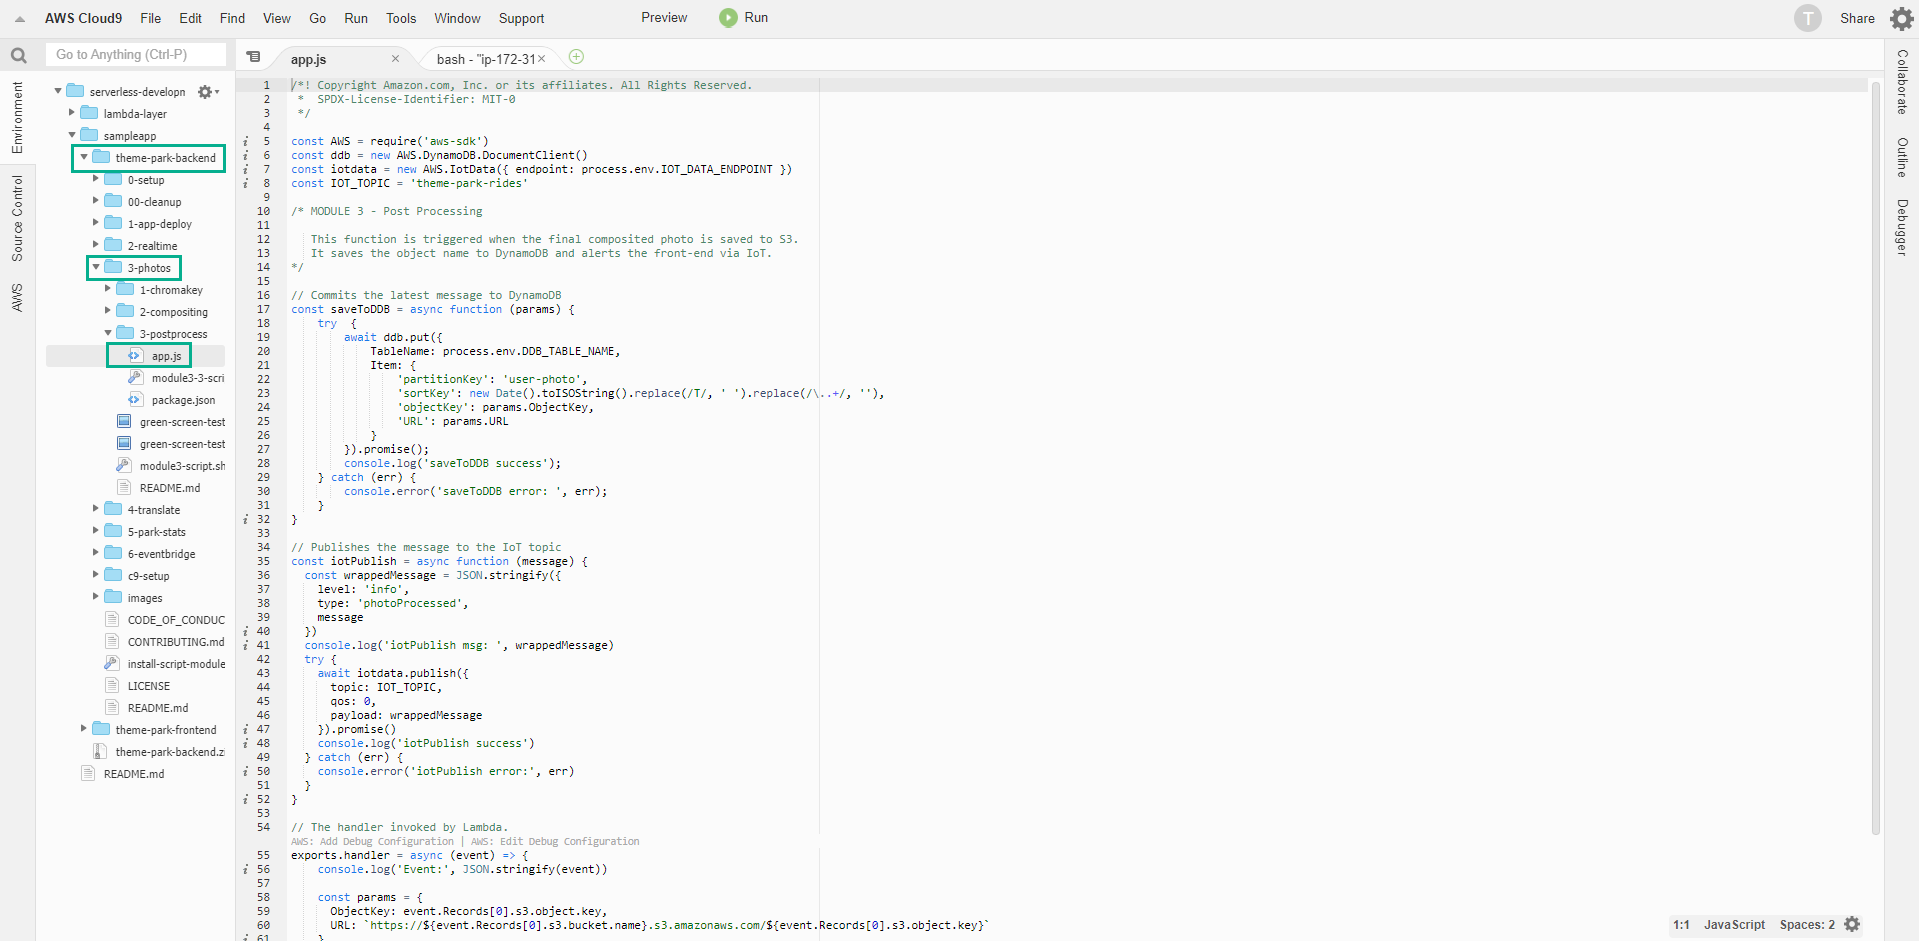
Return to Cloud9 interface
- Select 3-postprocess/app.js
- Copy the code of app.js
-
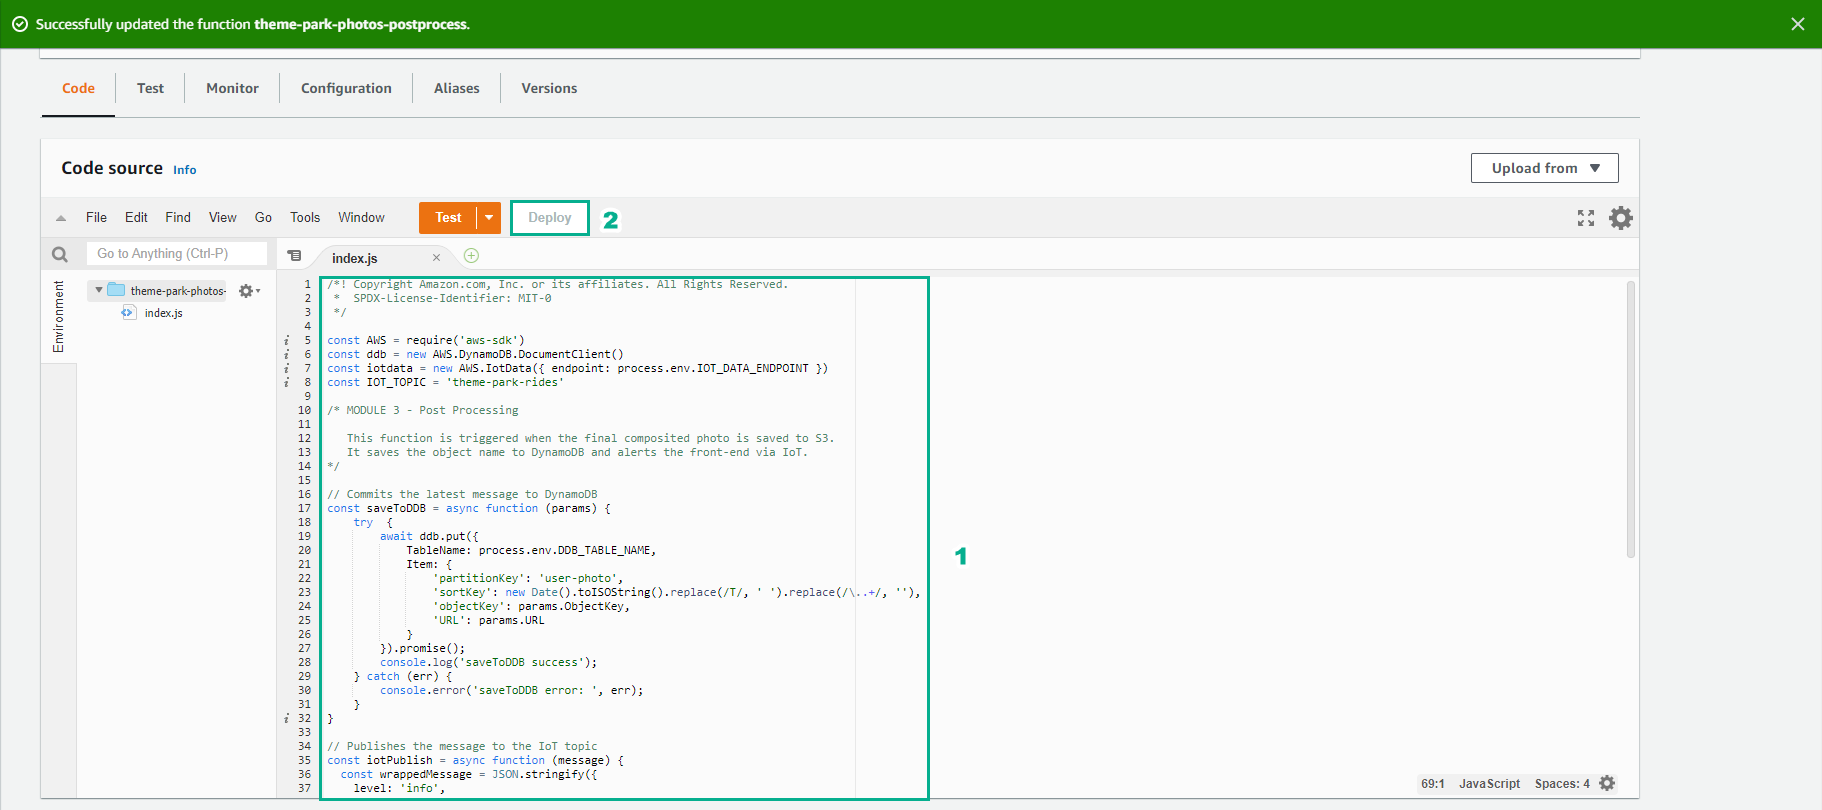
Paste the code of app.js into index.js
- Save
- Select Deploy
Add environment variables.
This function uses two environment variables:
- IOT_DATA_ENDPOINT: IoT endpoint hostname.
- DDB_TABLE_NAME: DynamoDB table name used by the application.
- Return to your browser tab while Cloud9 is running
- In the terminal, enter the following command to retrieve the value for IOT_DATA_ENDPOINT:
aws iot describe-endpoint --endpoint-type iot:Data-ATS
- Next, enter the following command to retrieve the value for DDB_TABLE_NAME:
aws dynamodb list-tables | grep backend

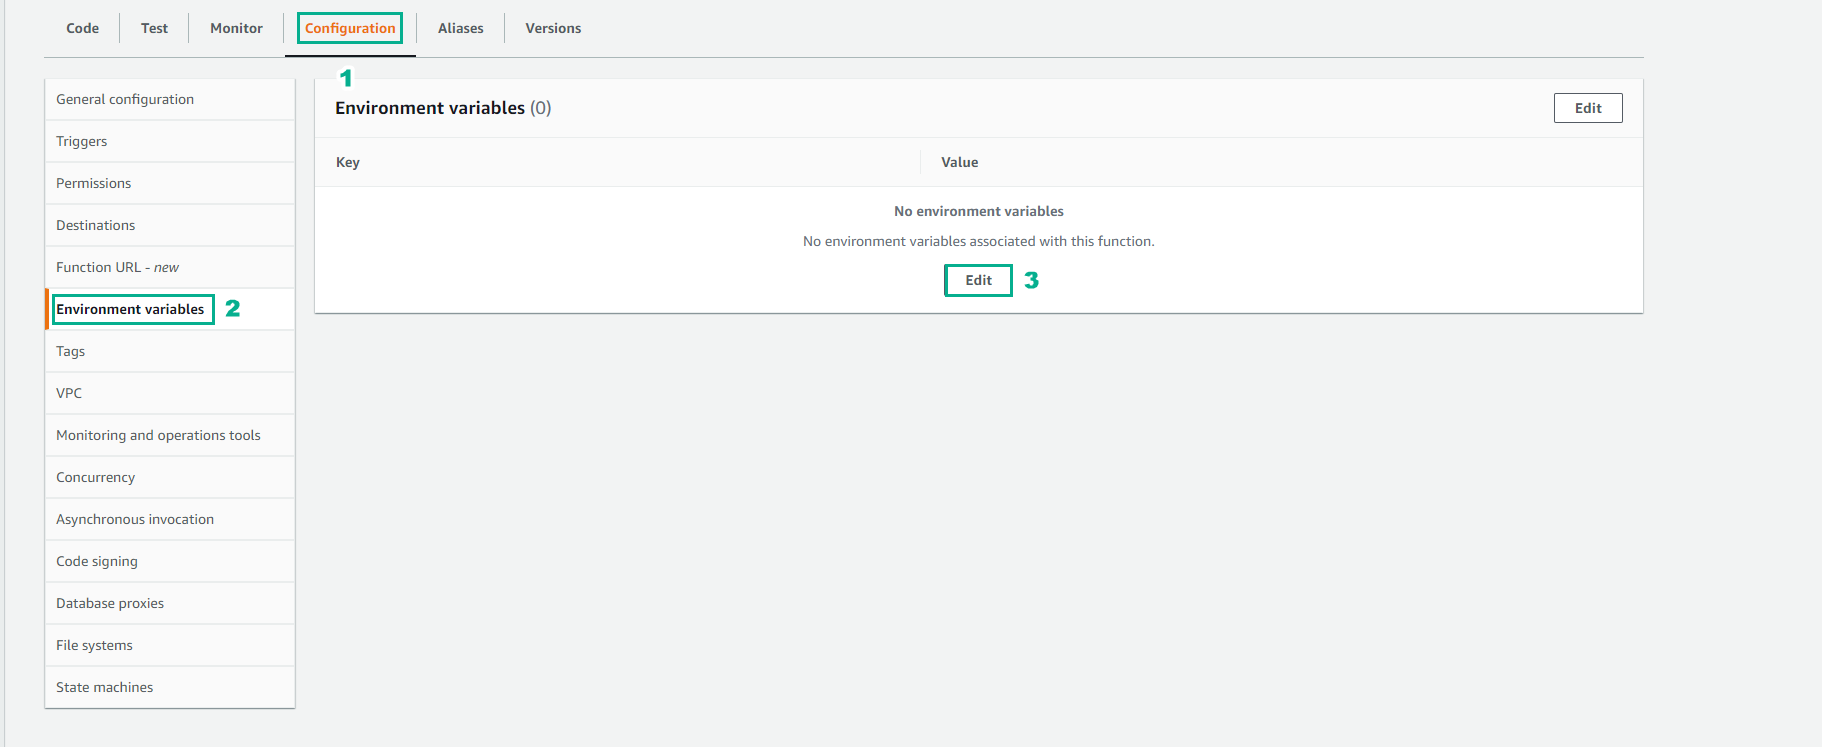
- Go back to theme-park-photos-postprocess Lambda function.
- Select Configuration tab
- Select Environment variables
- Select Edit
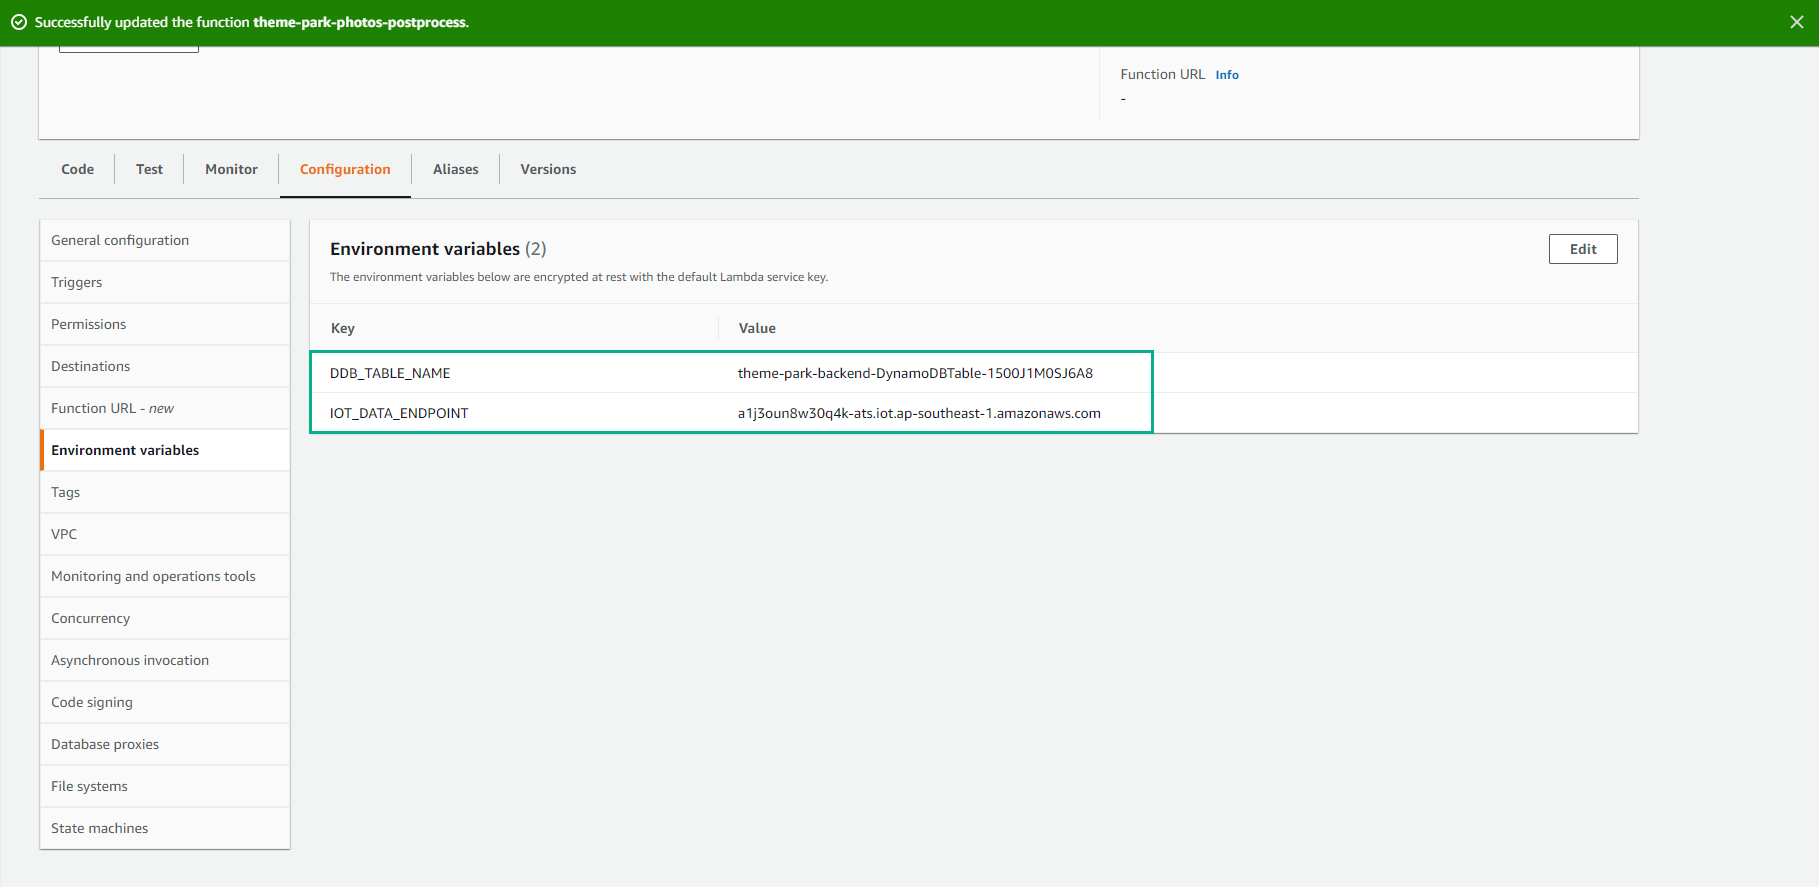
- Enter the two environment variable names along with the values you retrieved in Cloud9 (without the quotes):
- Select Save
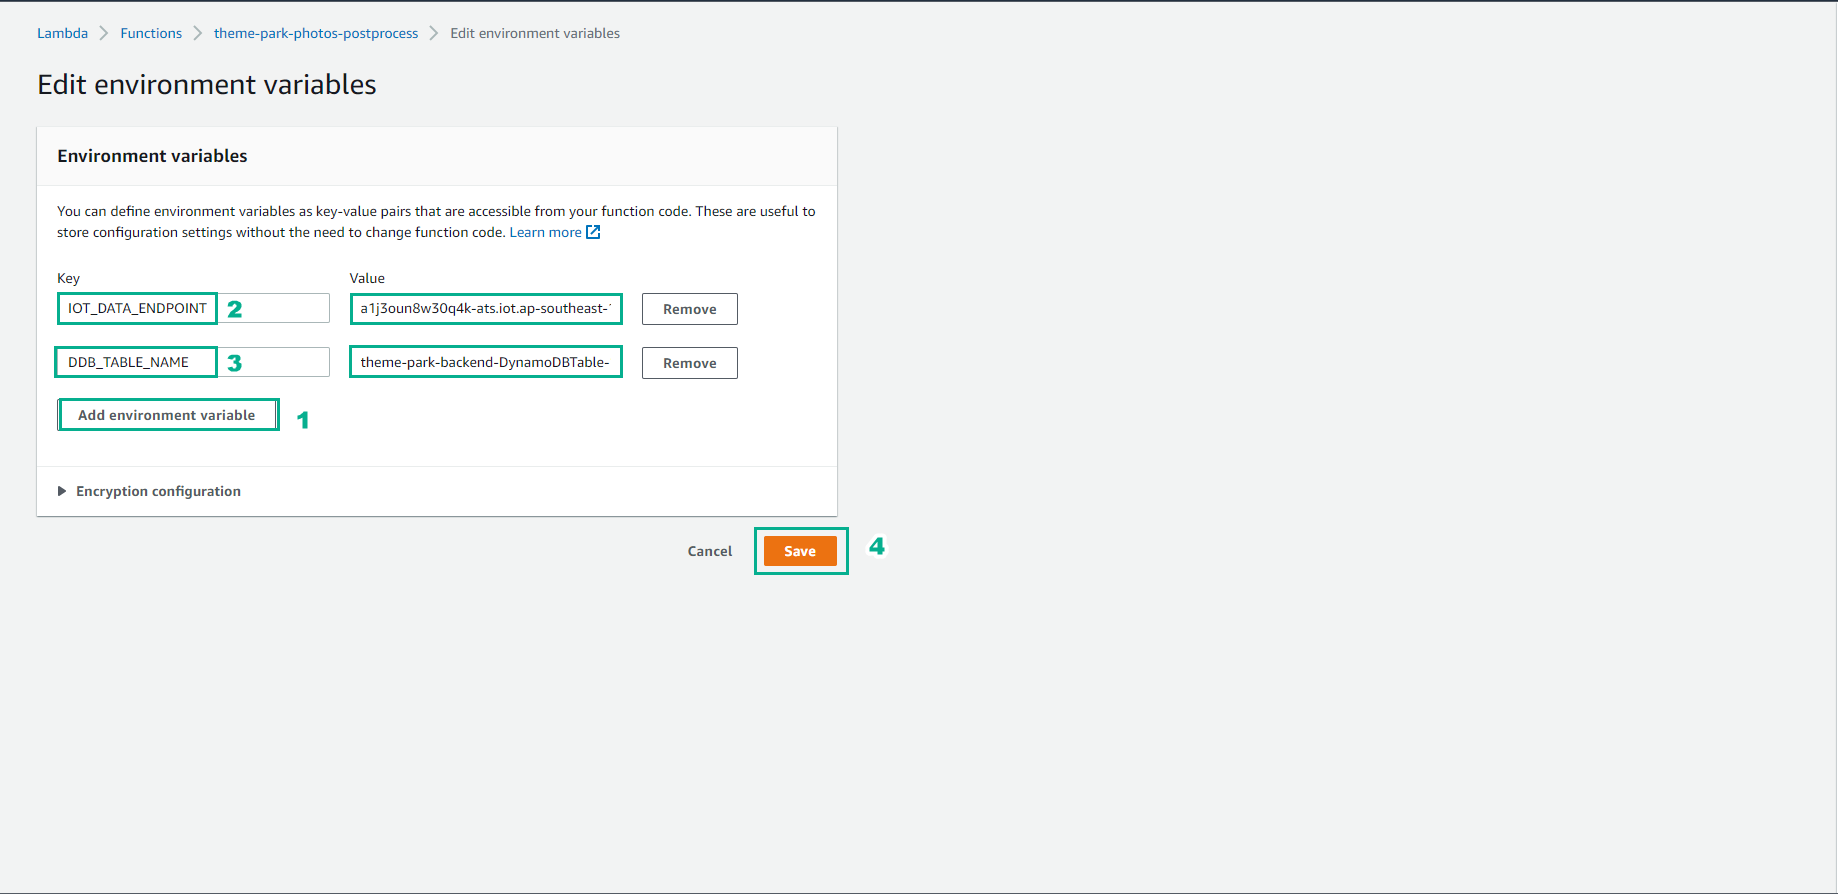
- Finish adding environment variables.
Front-end update
- Return to your browser tab while Cloud9 is running
- In the terminal , run this command to expose the upload API since the backend is implemented in module 1:
aws cloudformation describe-stacks --stack-name theme-park-backend --query "Stacks[0].Outputs[?OutputKey=='UploadApi'].OutputValue" --output text

- Copy the output URL to the clipboard:

-
In Terminal Cloud9, in the left directory panel, navigate to theme-park-frontend/src
-
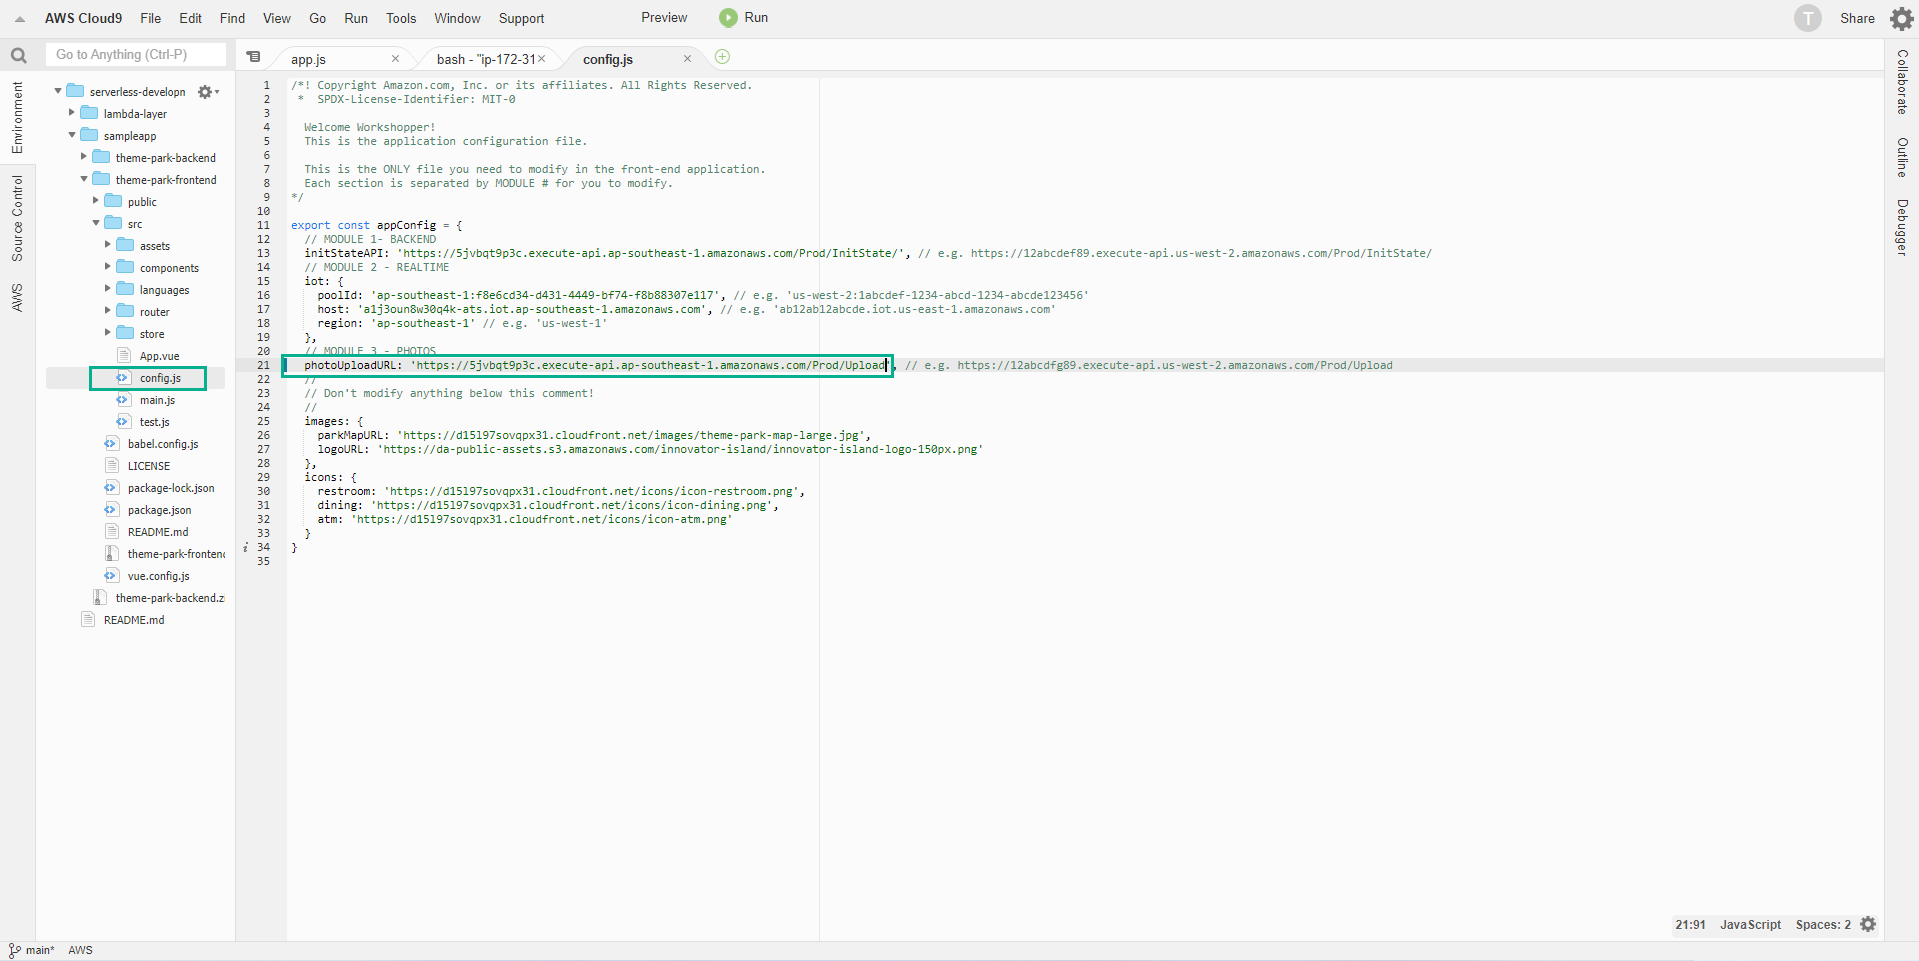
Find config.js and double click to open it in the editor. This file contains the JSON configuration for the front-end.
-
In the MODULE 3 section, between the quotes ‘’, update photoUploadURL with API Endpoint URL in the clipboard.
-
Then save the file.
Push CodeCommit and Deploy via Amplify
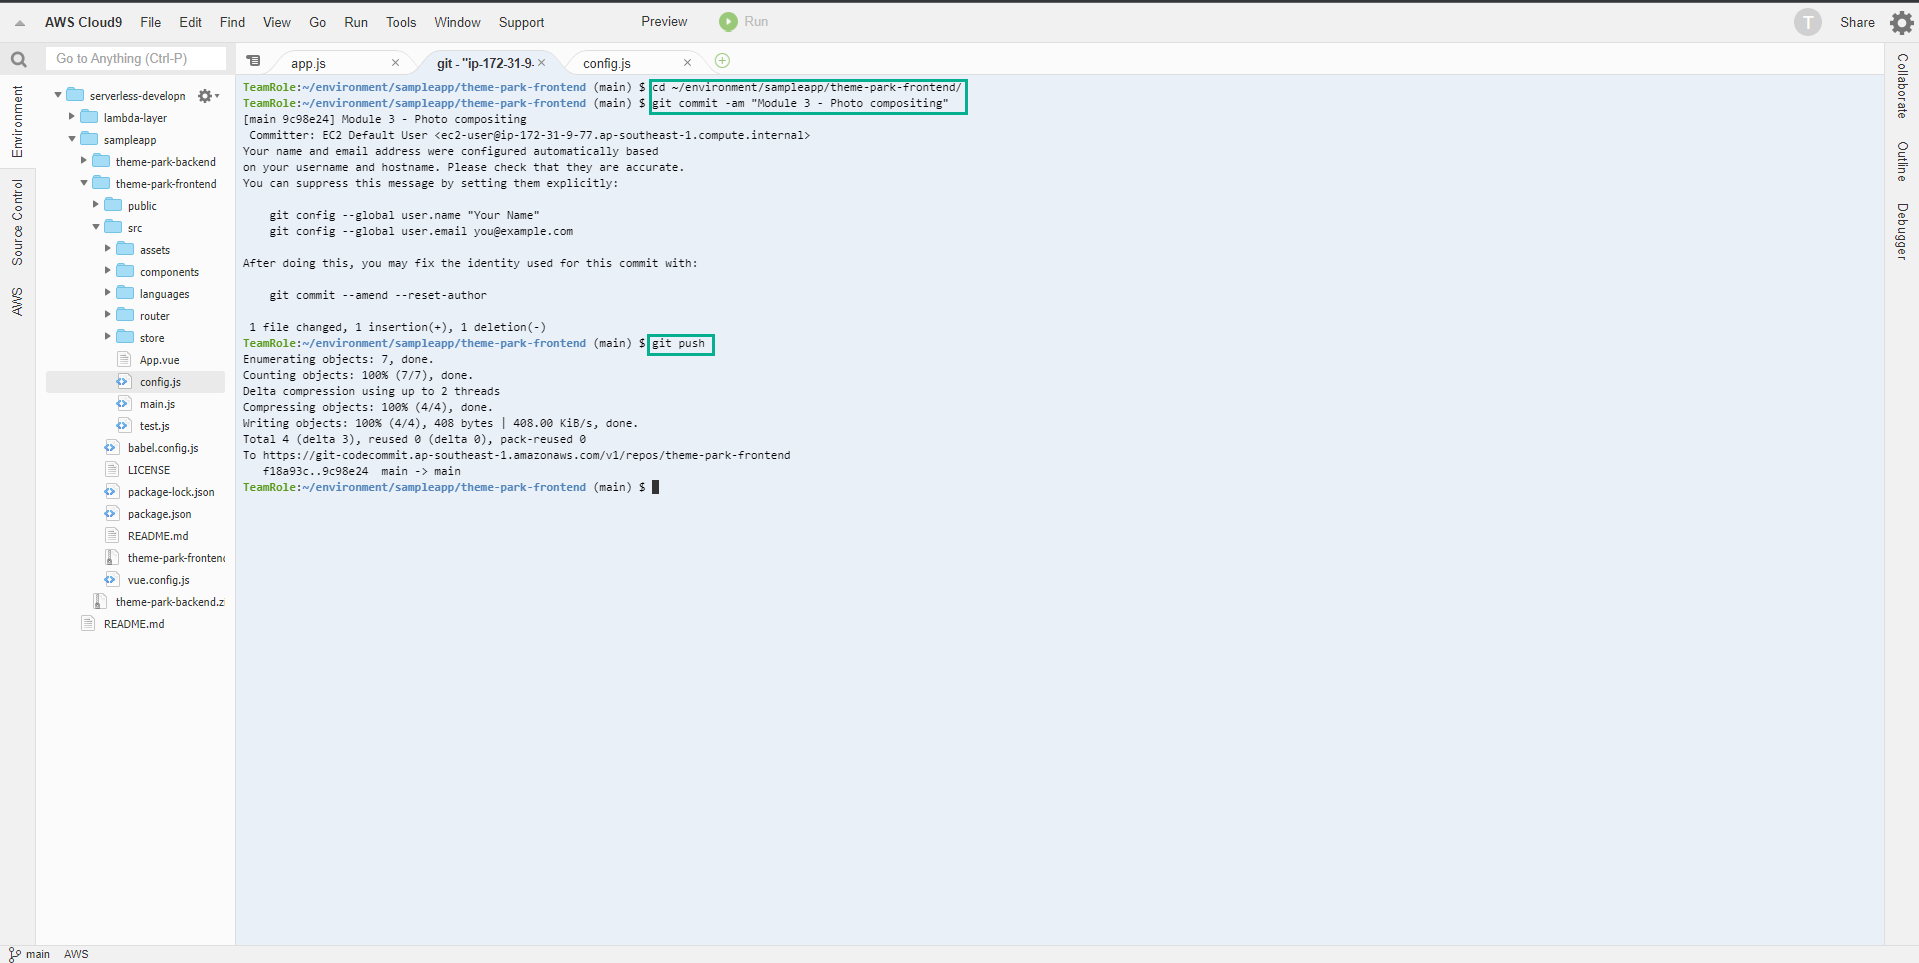
- In Terminal Cloud9, change to the front-end directory with the following command:
cd ~/environment/sampleapp/theme-park-frontend/
- Commit CodeCommit by executing the following commands:
git commit -am "Module 3 - Photo compositing"
git push
- After the commit is complete, go to Amplify Console
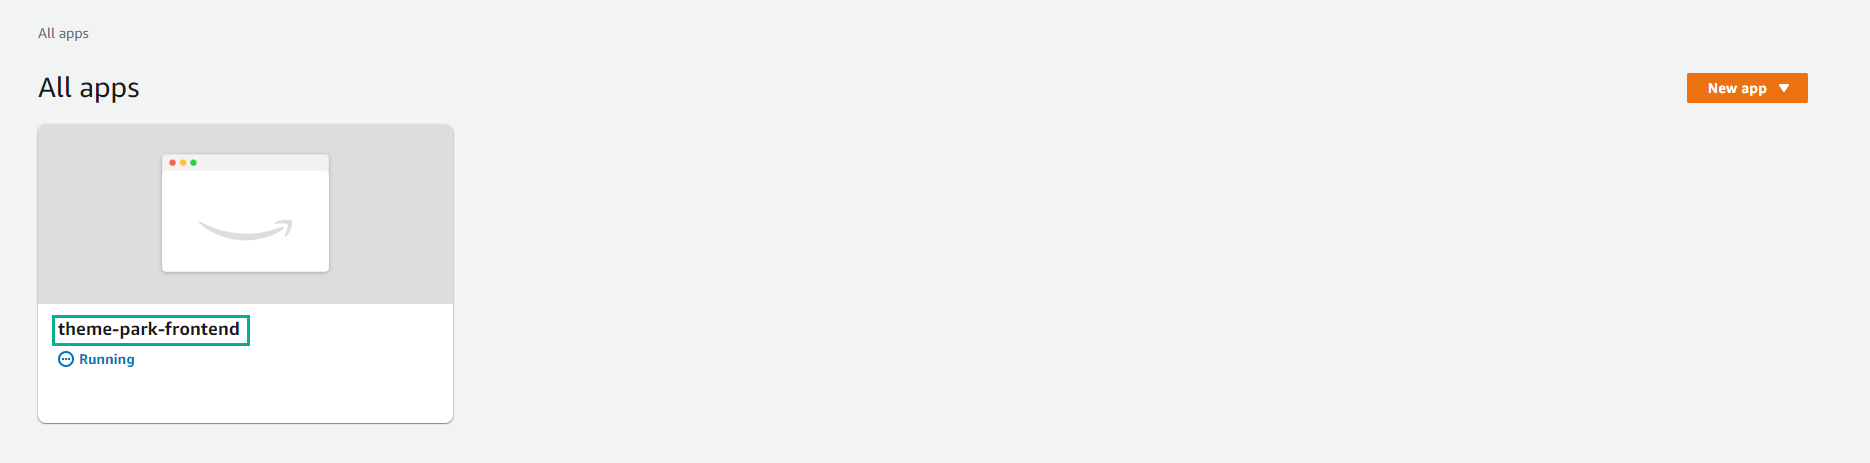
- On All apps page
- Select theme-park-frontend
- You should see a new build automatically started as a result of the new commit in the underlying code repo. This build will take a few minutes until the Verification phase is complete
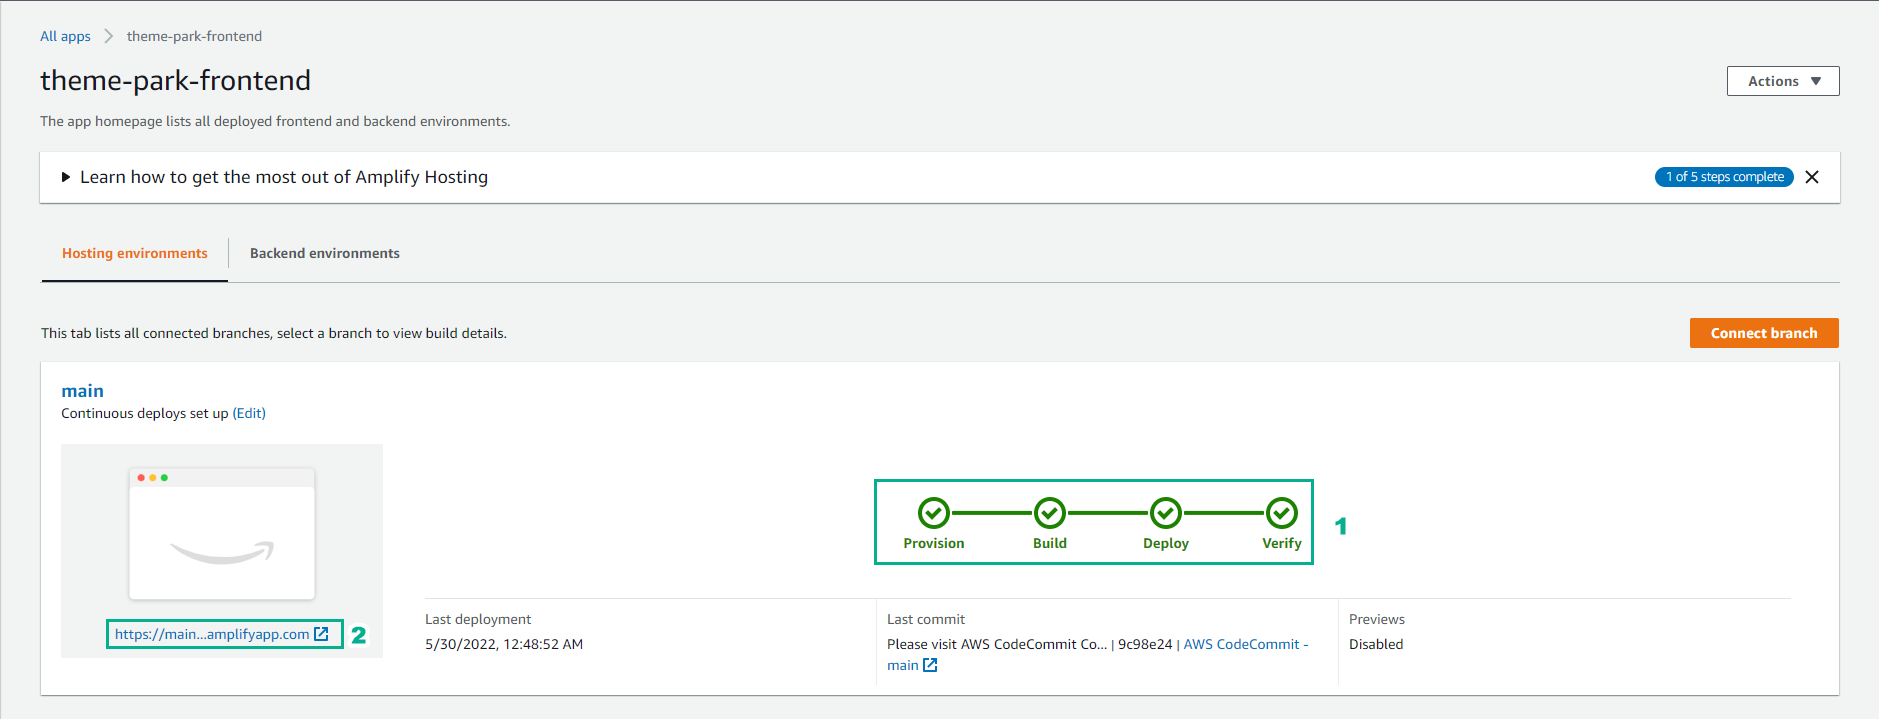
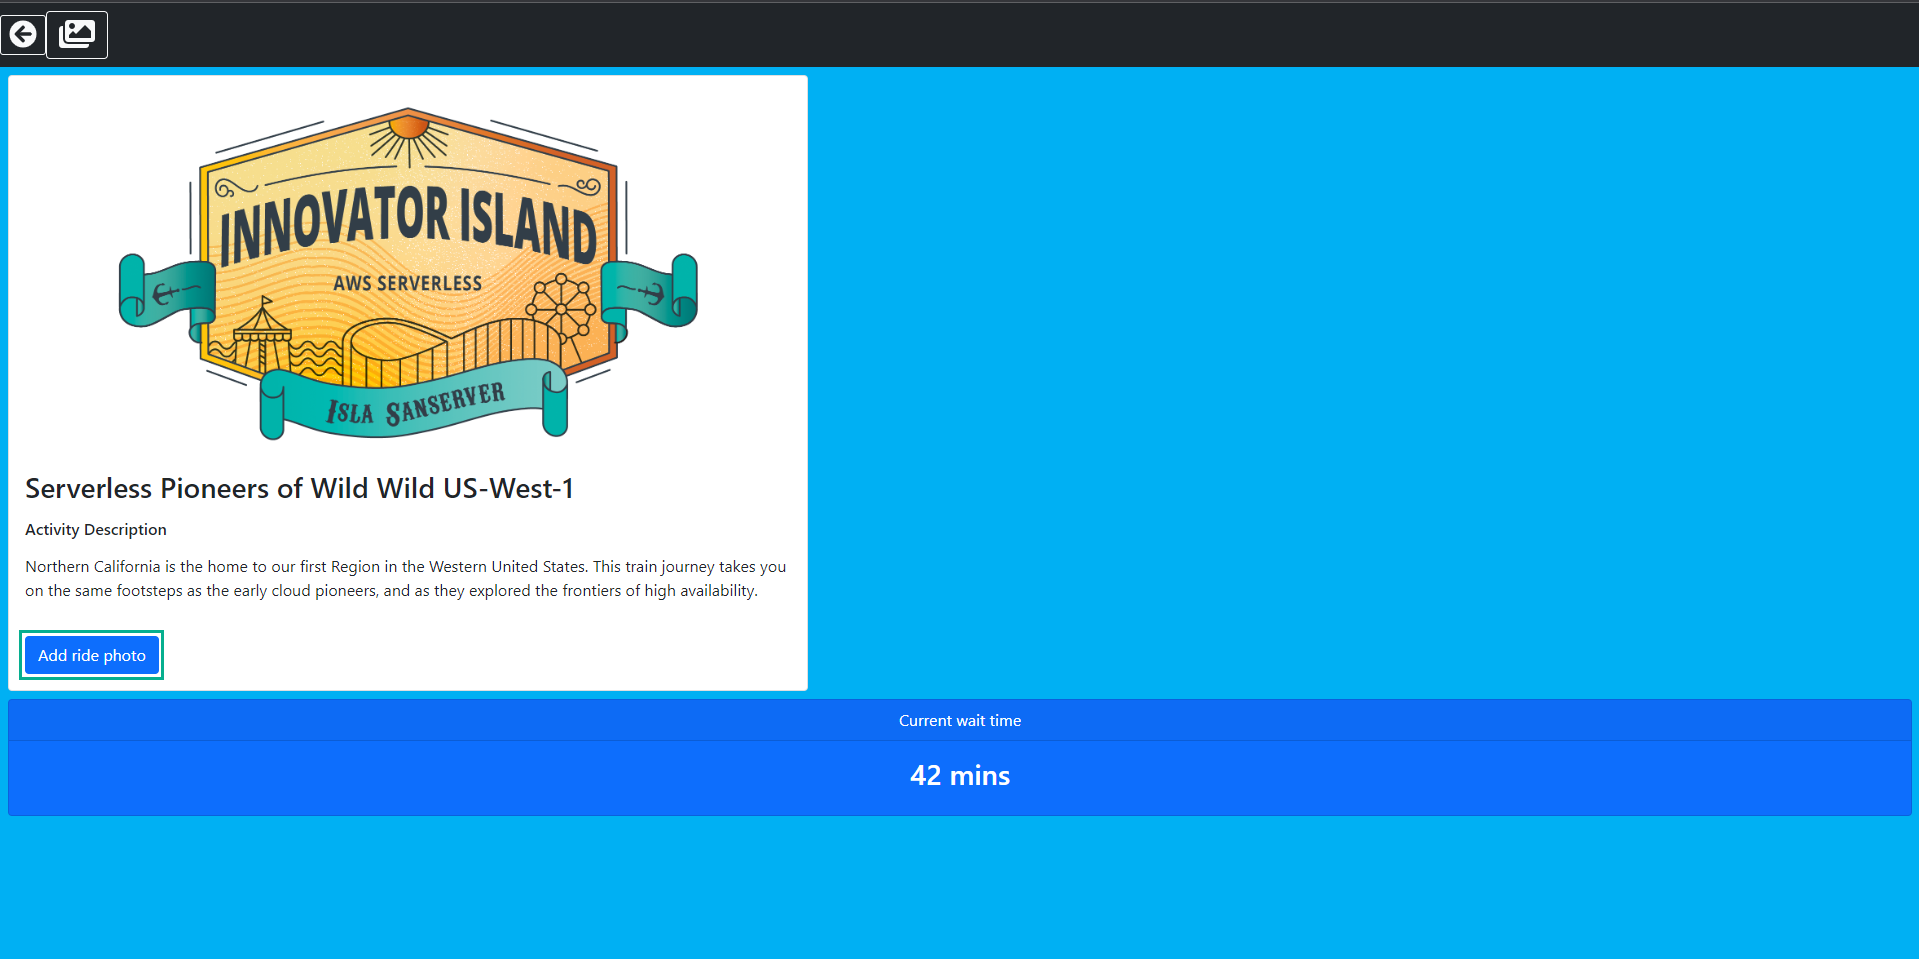
- Open the published application URL in the browser.
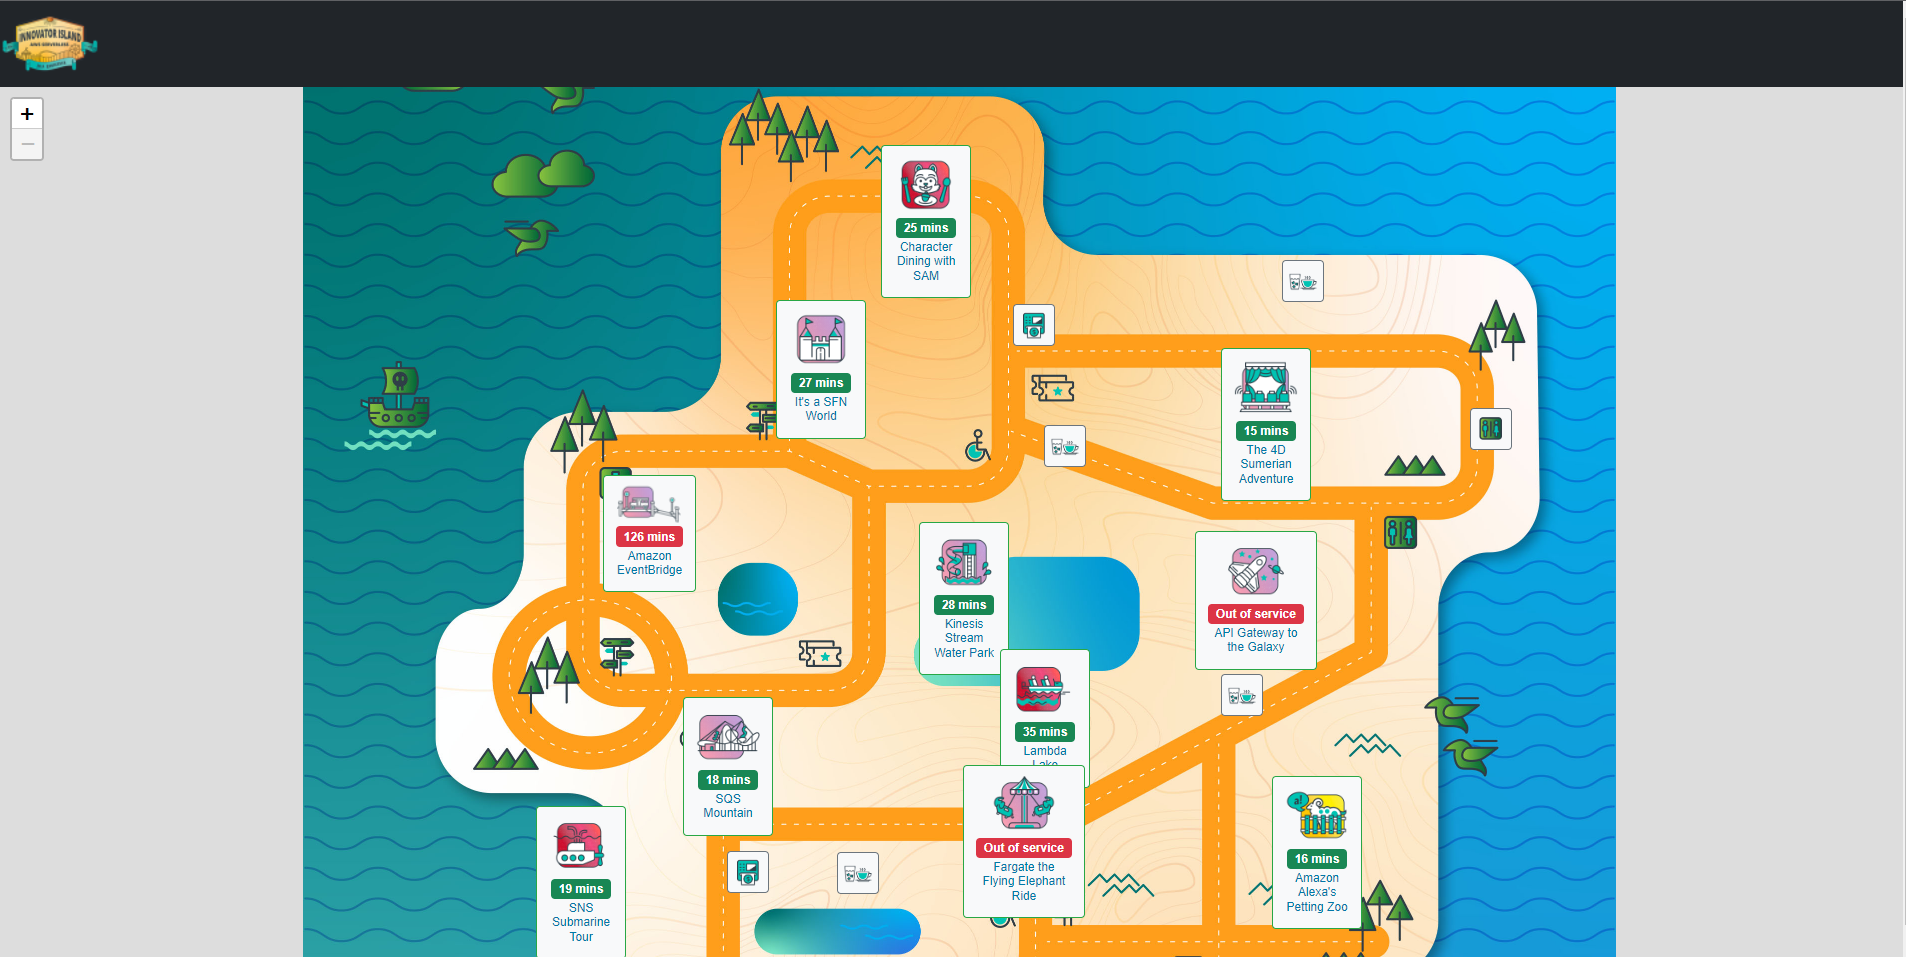
- Click one of the trip profiles to open the trip description page. You can see a new button has appeared - “Add ride photo”.